Introduction
OvalEdge Support Portal provides documentation, user guides, and knowledge base articles for the OvalEdge application. It also allows users to raise service requests if they encounter any issues or have questions about using the application. It's common for software companies to provide support portals as a way to help users troubleshoot issues, access user guides, and find answers to frequently asked questions.
Purpose
The purpose of this article is to provide first-time and existing users with a step-by-step guide to register themselves and detailed instructions on how to submit a service request on the OvalEdge Portal.
Step-By-Guide
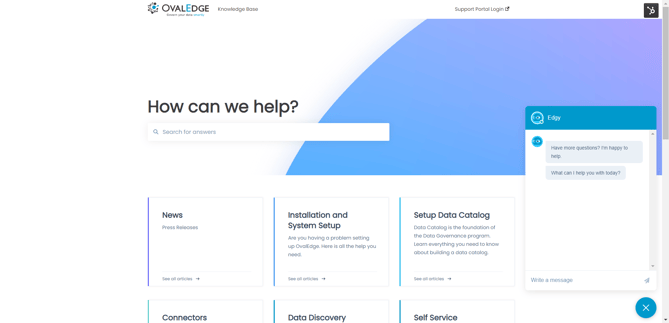
Step 1: Navigate to ‘support.ovaledge.com’ in the browser to land on the page as shown below.
Step 2: Upon clicking on the login icon on the above page, users will be redirected tocsportal.ovaledge.com, as shown below.
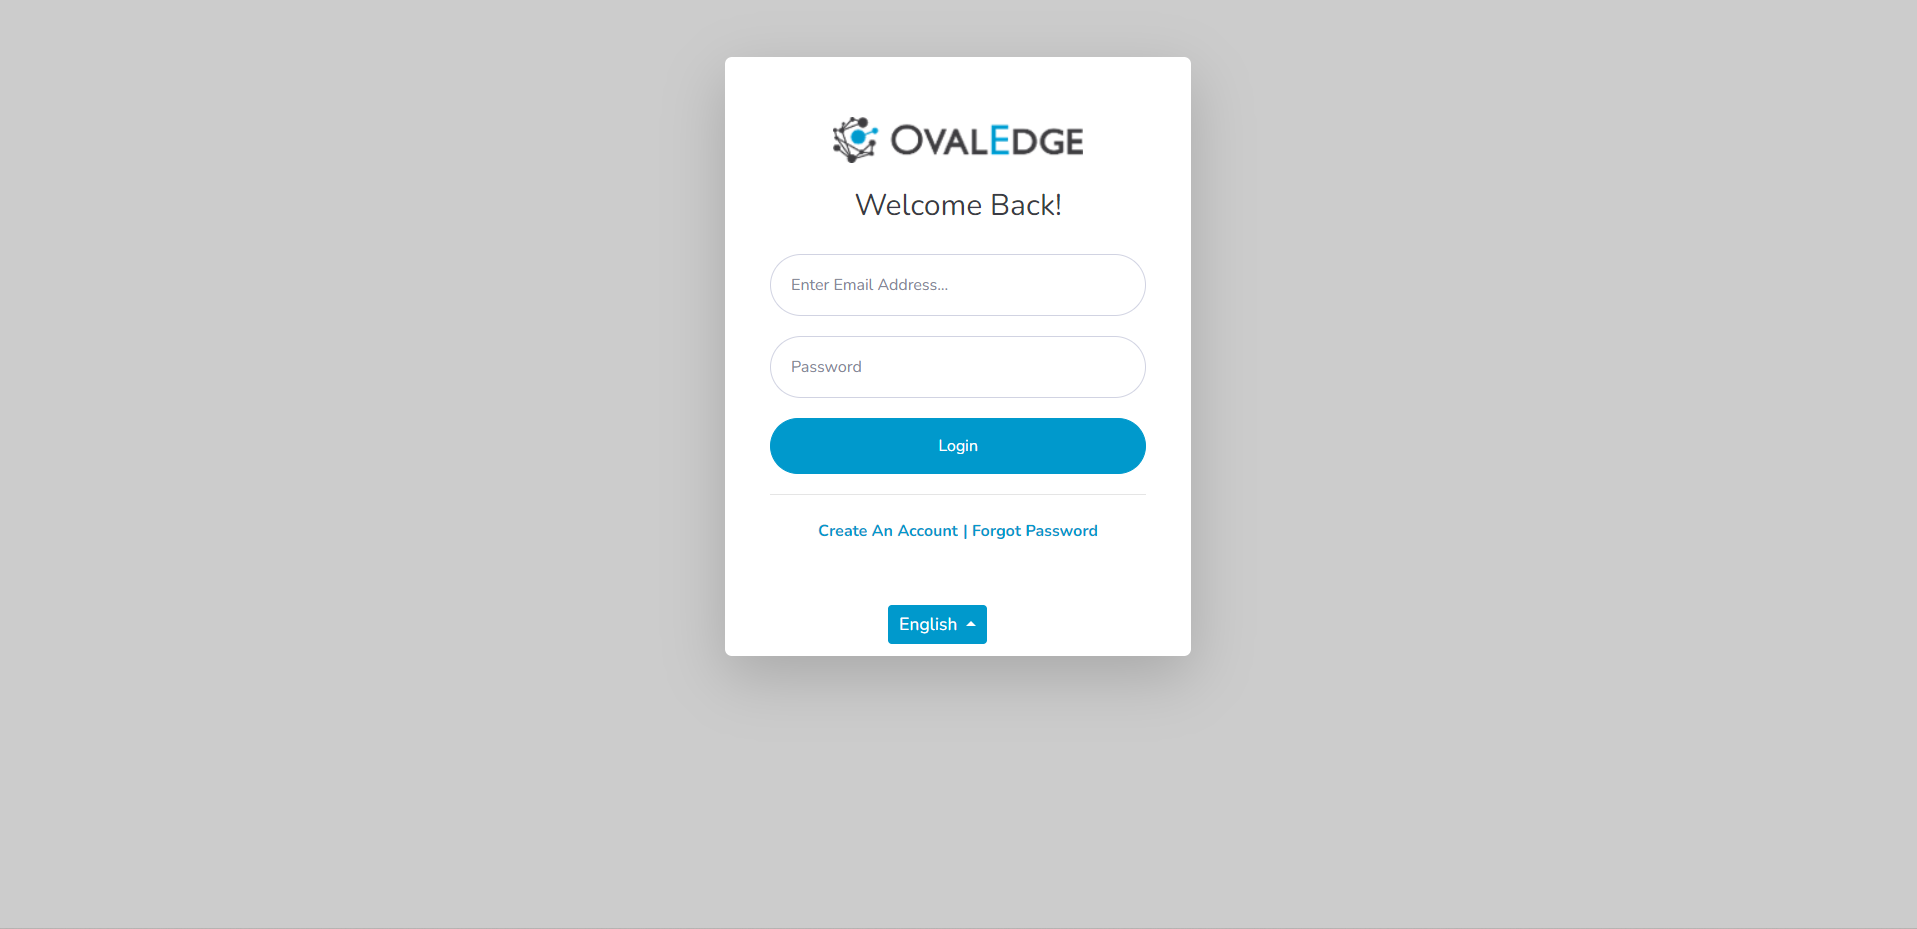
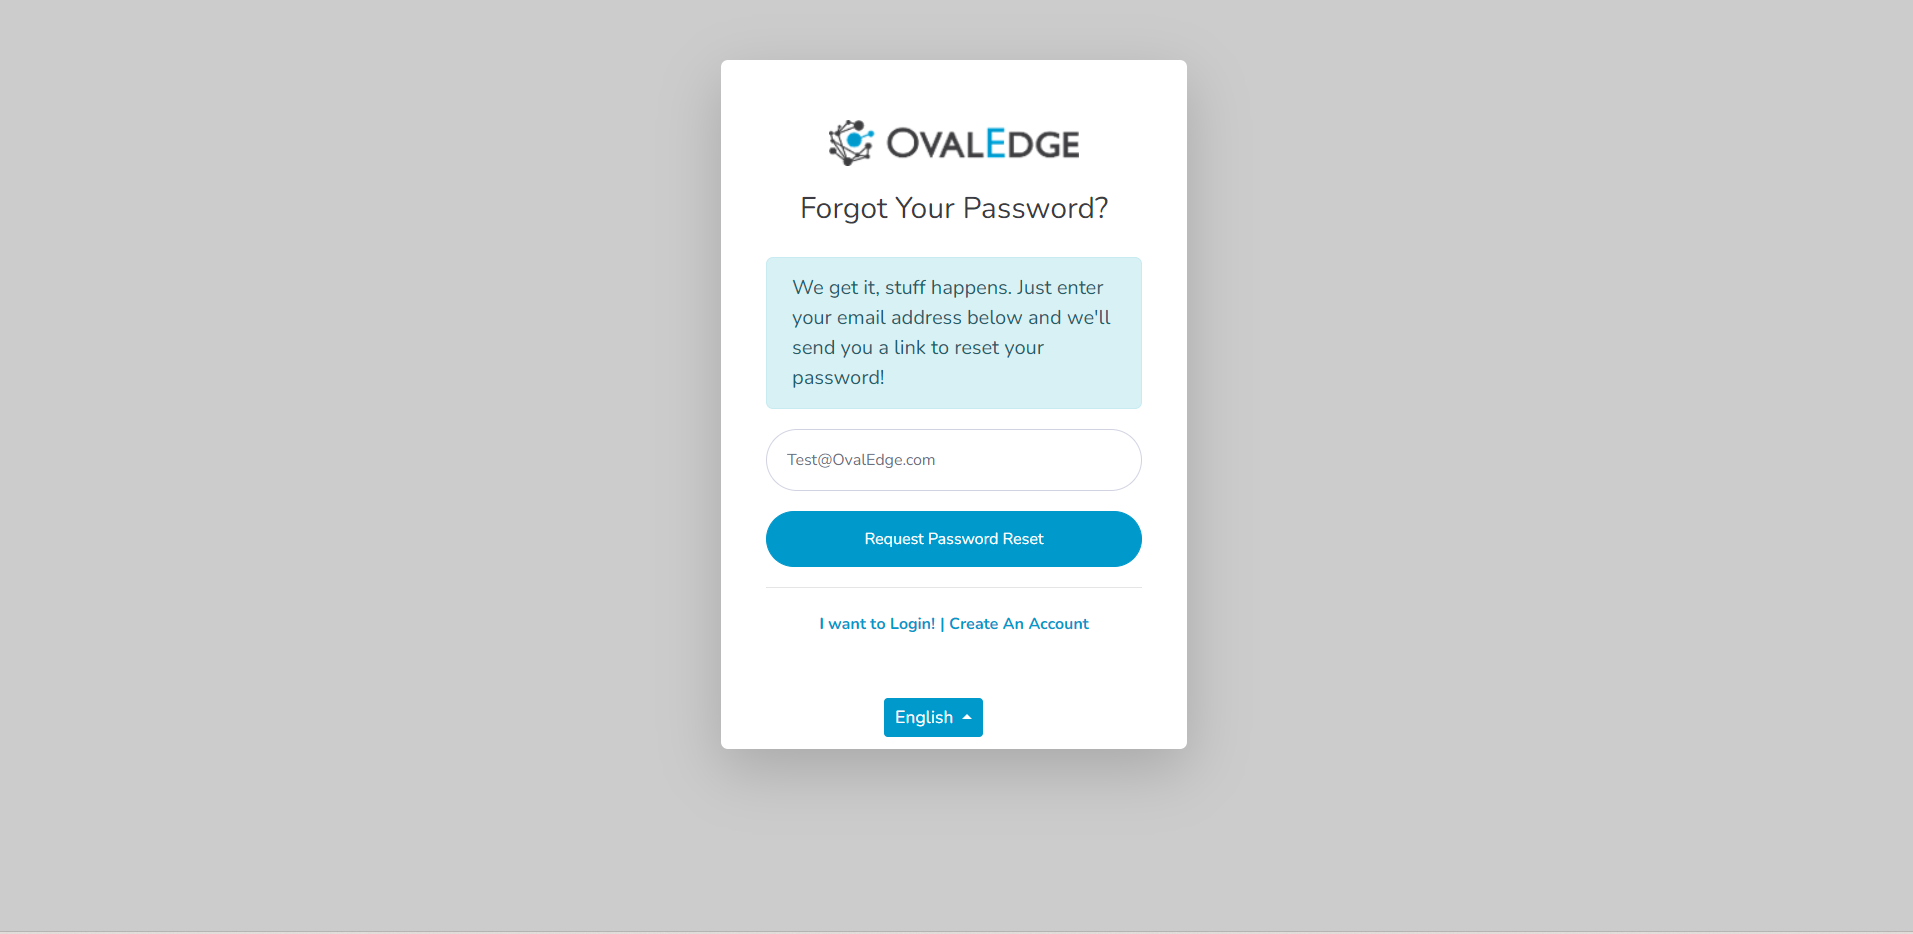
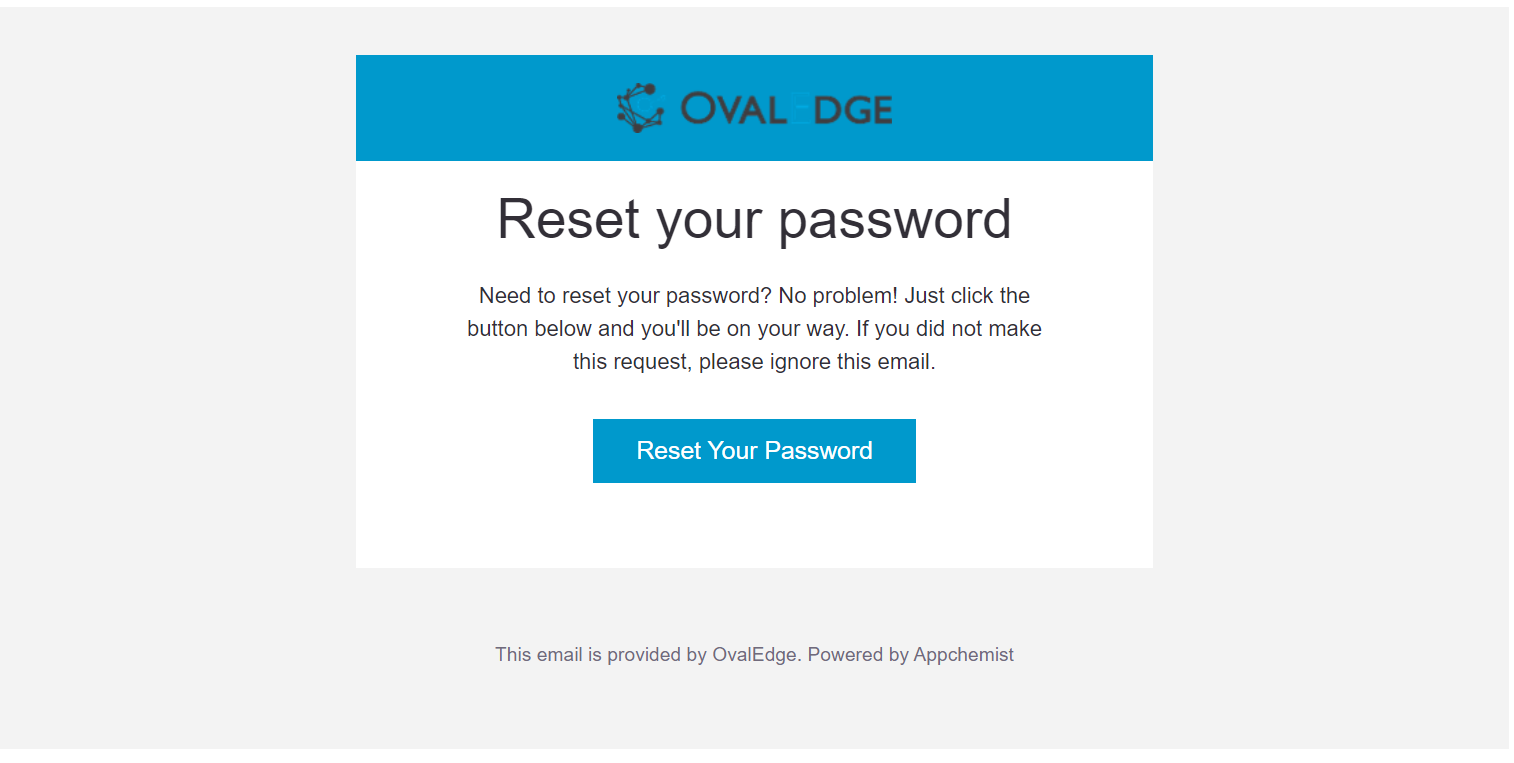
Step 3 Existing Users: The existing users can either enter the Username and Password or can click on click on Forgot Password. Enter the email ID and click on reset password. An email link will be sent to the users.
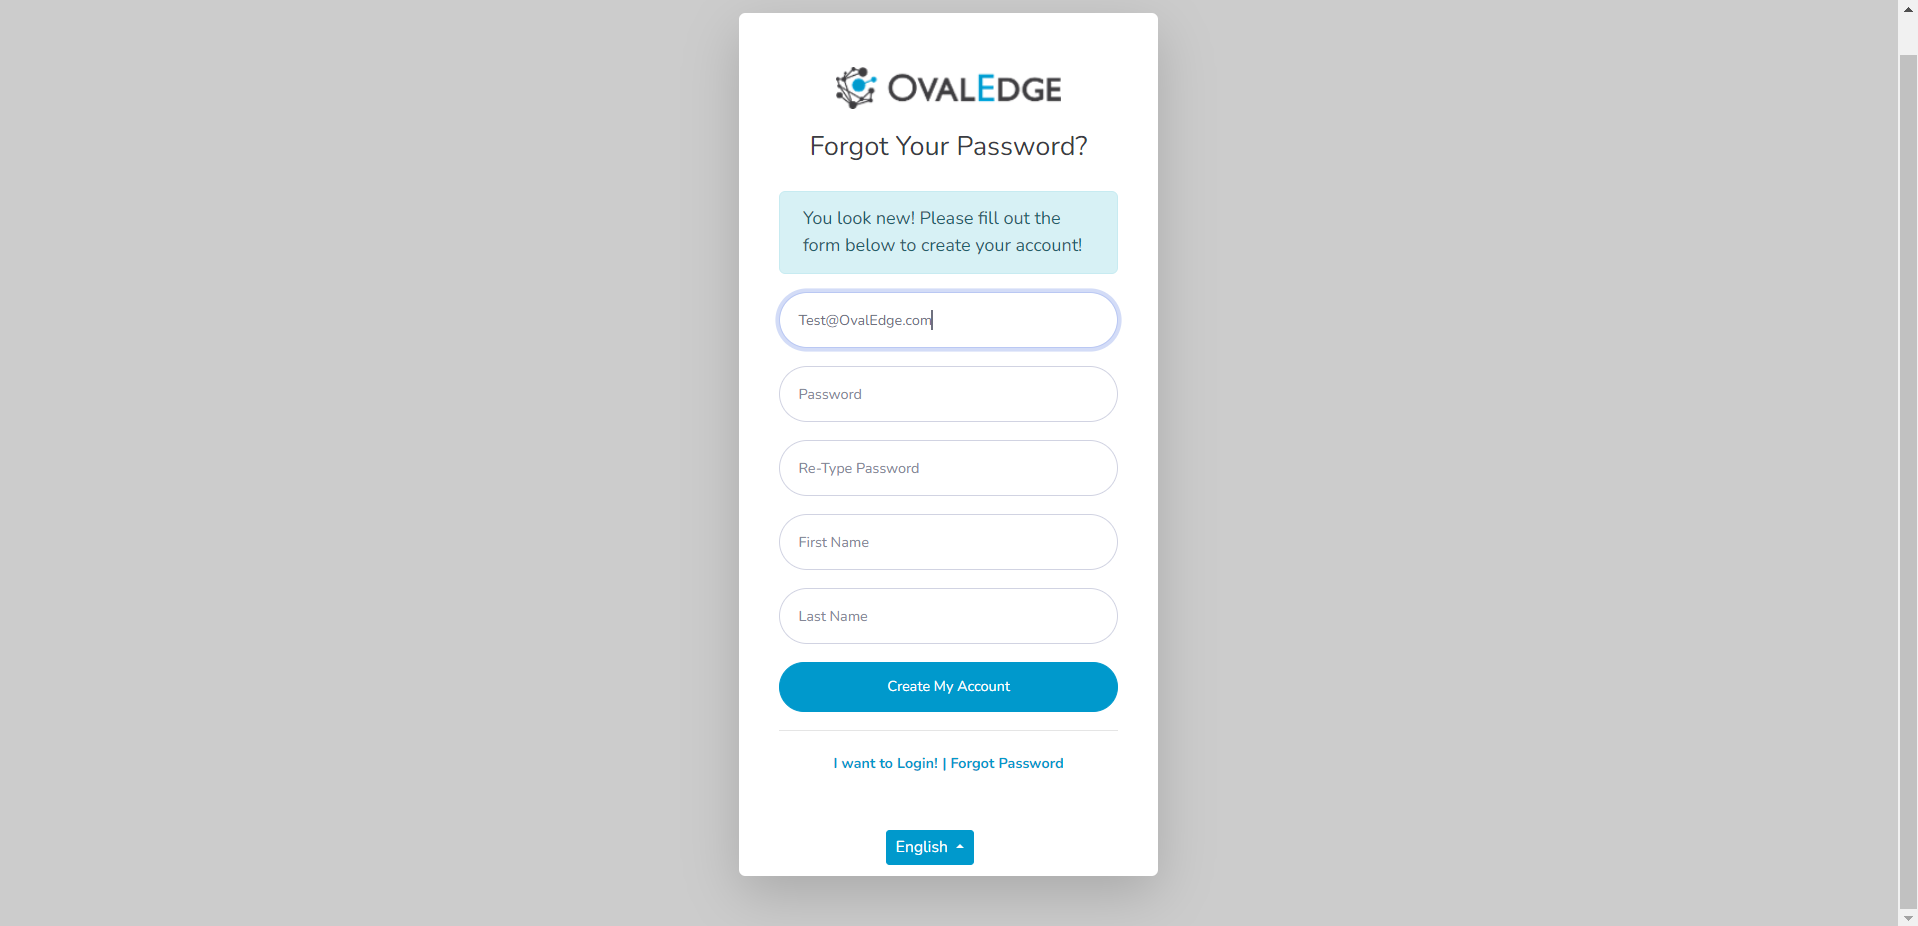
Step 3 New Users: New users must click on Create an Account on the home page and enter the required details and click on create my account as per the below screenshot.
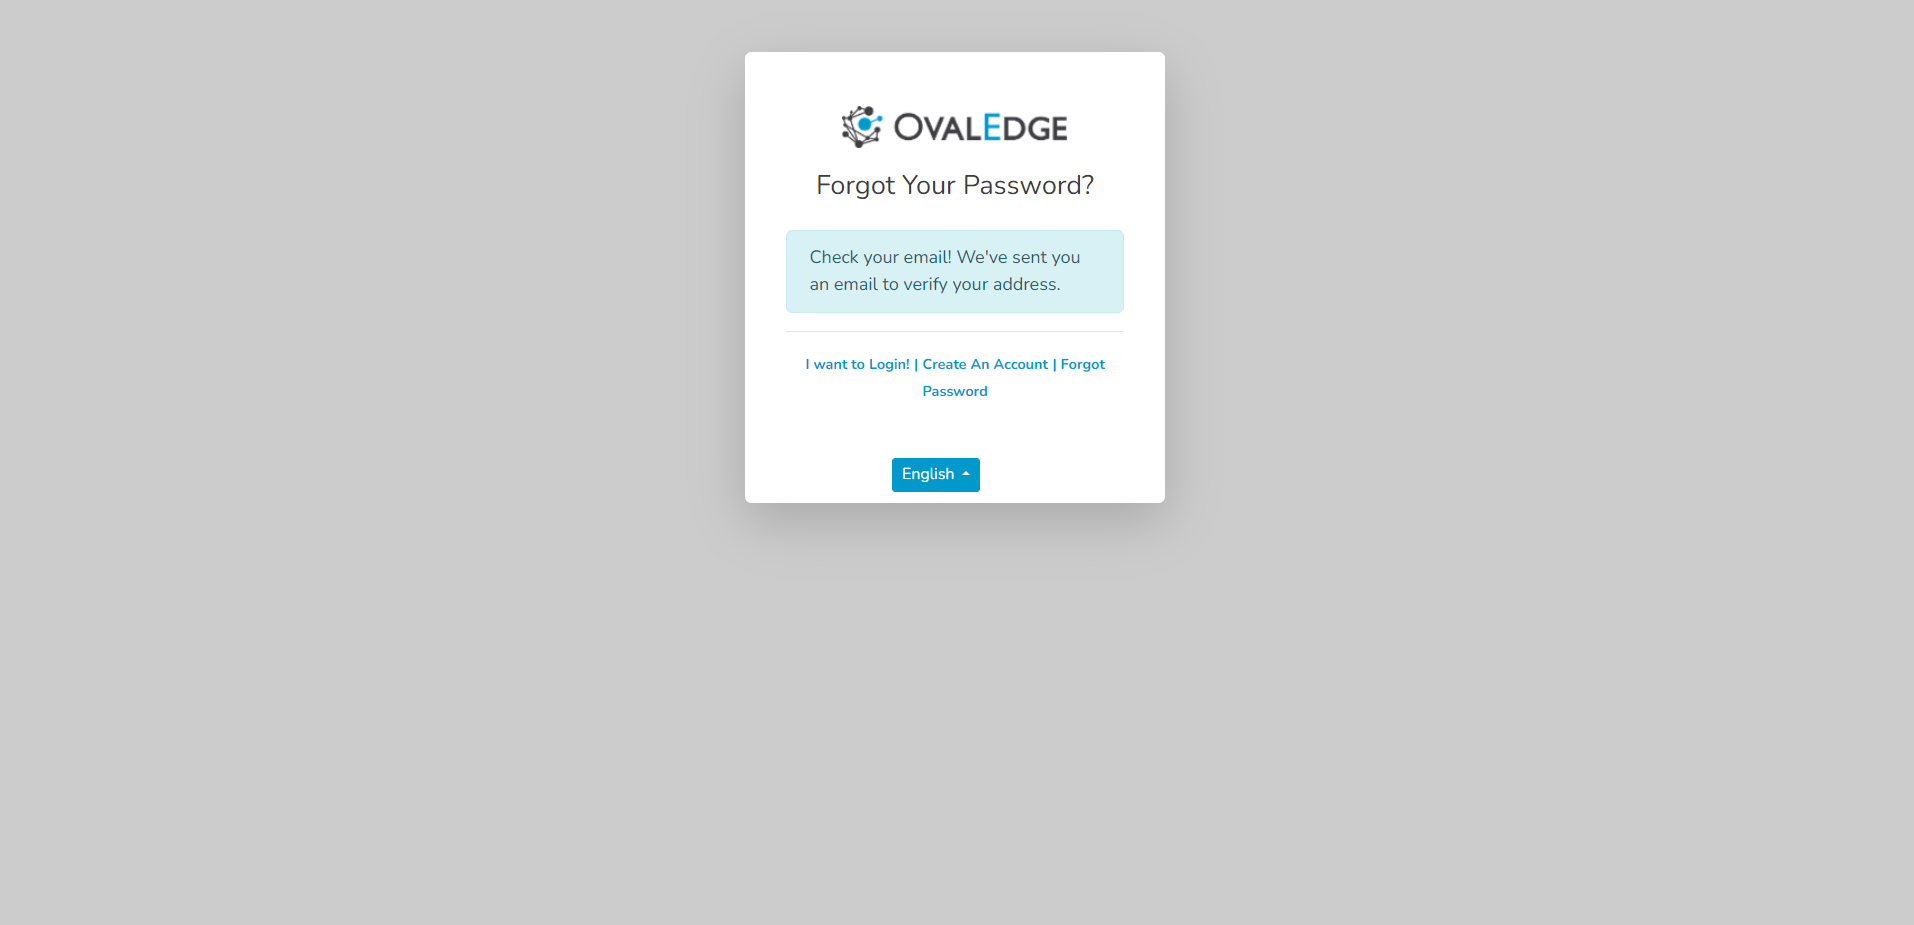
Step 4: Once the new user completes his/her registration with a valid email address and password, they shall receive a verification email on the registered email id.
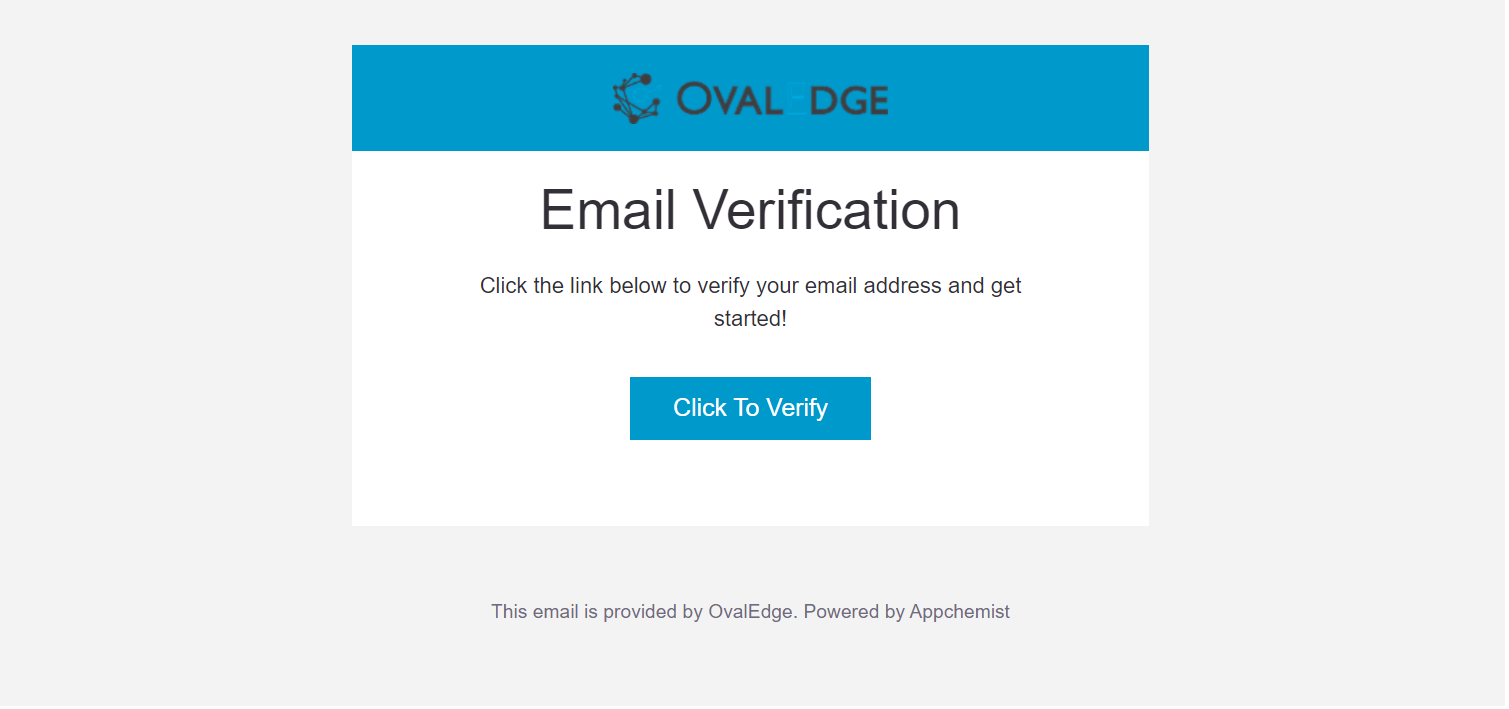
Step 5: The users need to click on the Verify button in the verification email sent to their inbox.
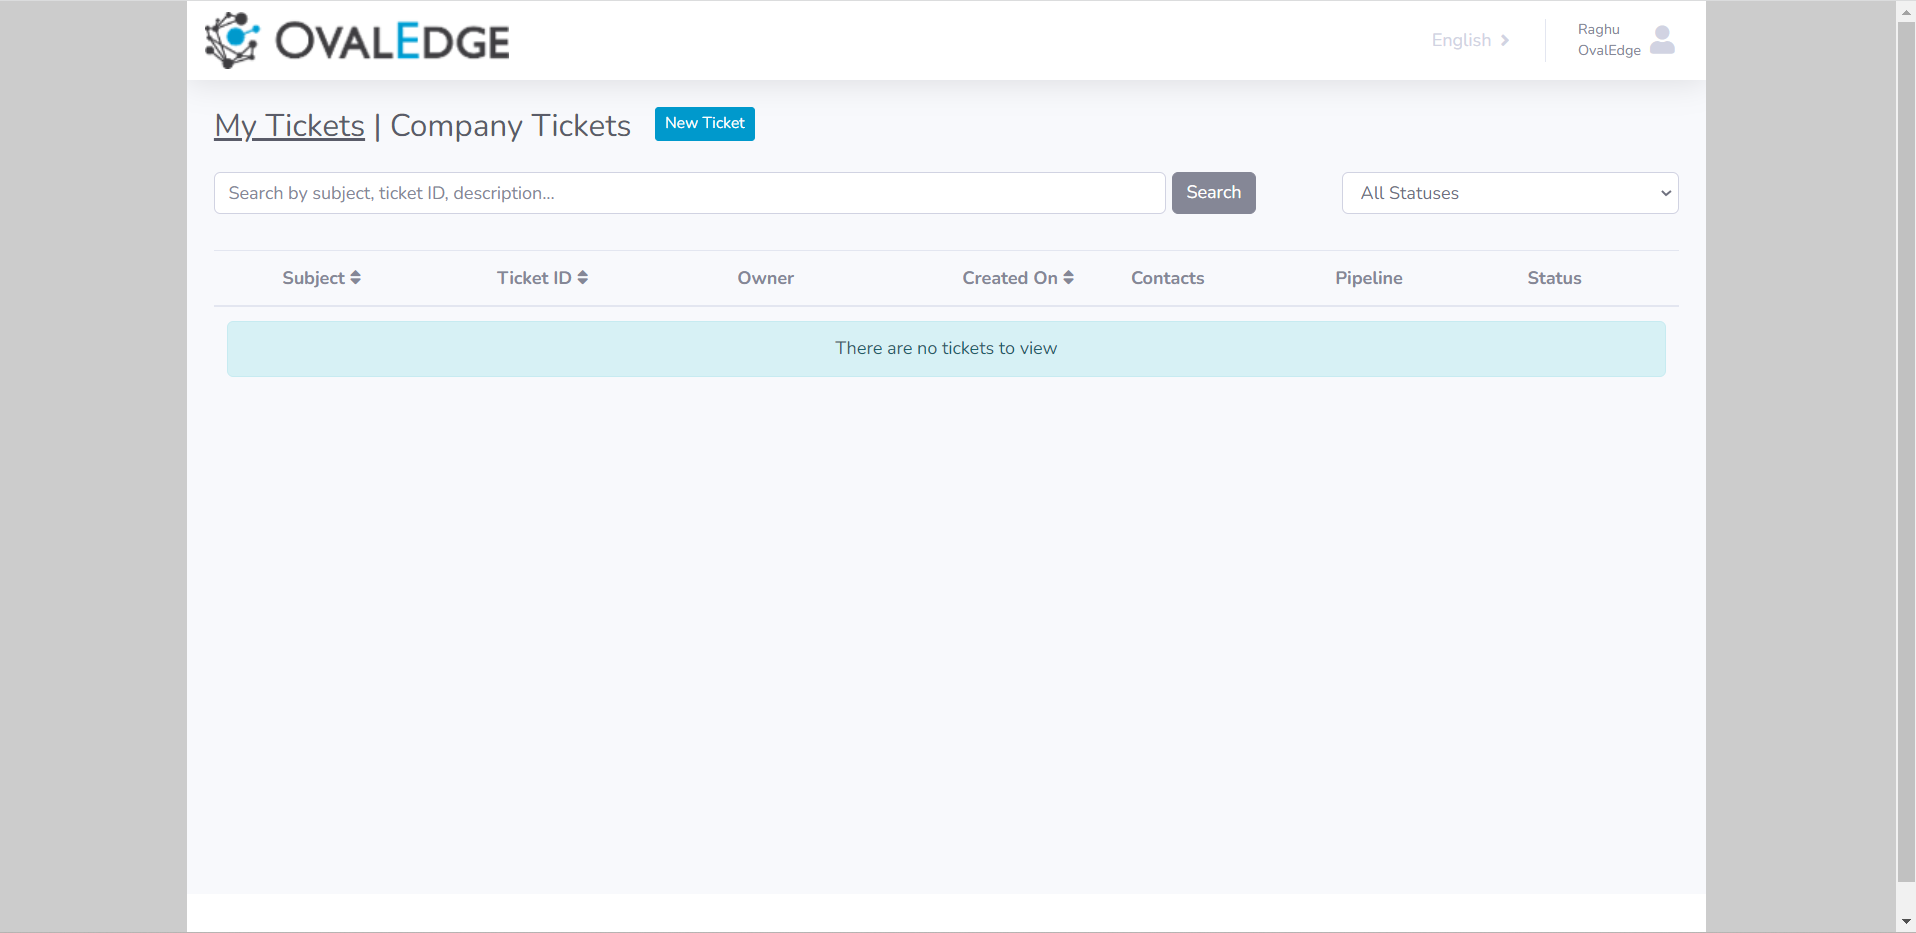
Step 6: Post verification, the user will be redirected to the OvalEdge Support Portal as shown below.
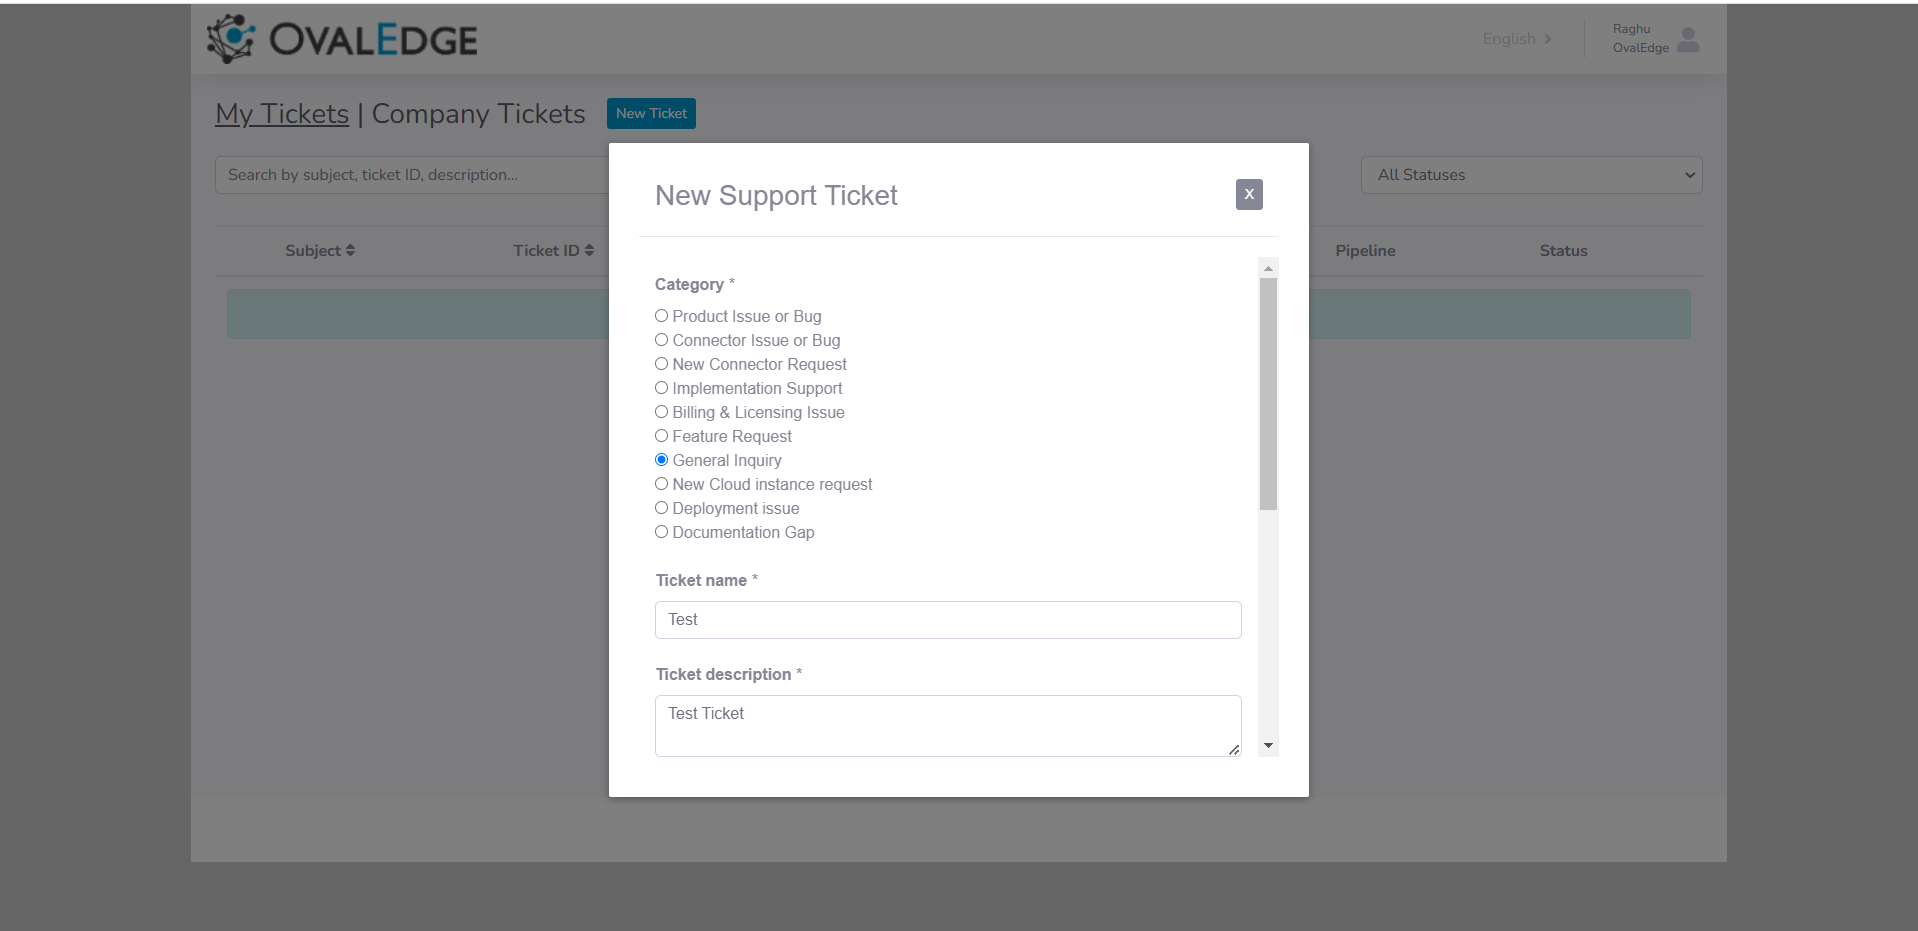
Step 7: To create a new ticket, the user can click on new ticket and select the category in the popup along with the ticket description, release version, environment details, and attachments and click on create a ticket by scrolling down as per the below screenshot.
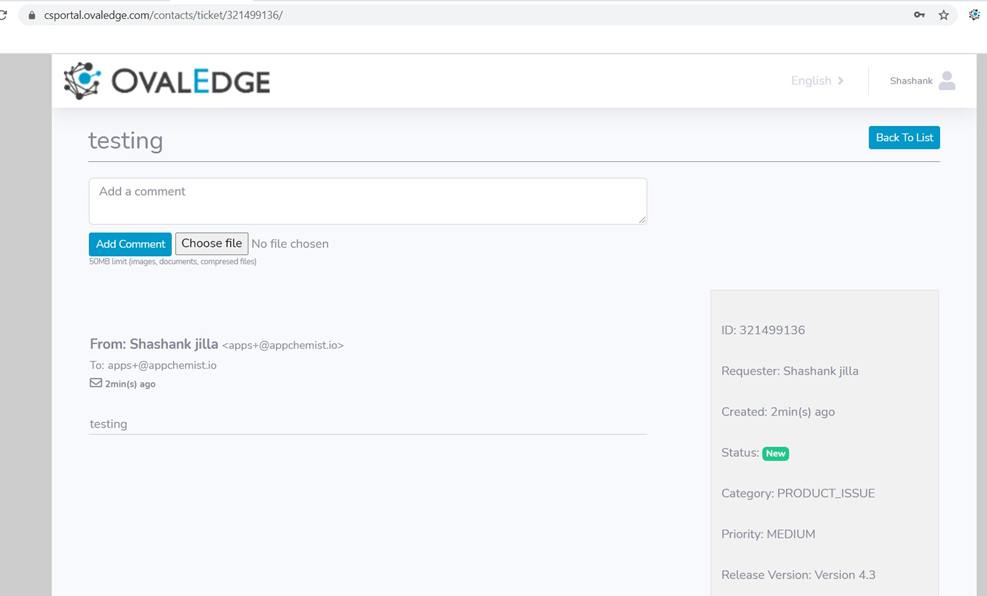
Step 8: Upon clicking on create a ticket, the ticket will get logged as shown below.

Step 9: The user can also add comments or upload files to the tickets by clicking on the ticket subject.
Note:
- All categories of tickets will follow the same steps as outlined above.
- Existing users will have access to all their current tickets with updated statuses in the new interface.
- To reset their password, users can click on the image located in the top right corner, and then click on "Profile".
- If a user forgets their password, they can utilize the "Forgot Password" feature. Subsequently, an email notification containing a link to reset the password at the user's registered email address will be sent.
- Once OvalEdge assigns a ticket owner, the user will be able to view the owner's name and know who their single point of contact is at OvalEdge for that ticket.
- All comments related to a ticket will be displayed in a mail format under the comments box.
Definition of ticket status for end user understanding:
Reporter will receive email notifications in the following events:
- When a ticket is Created.
- When a ticket's status is changed to "In Progress".
- When a ticket's status is changed to "Waiting on Customer".
- When a ticket's status is changed to "Resolved and Closed".