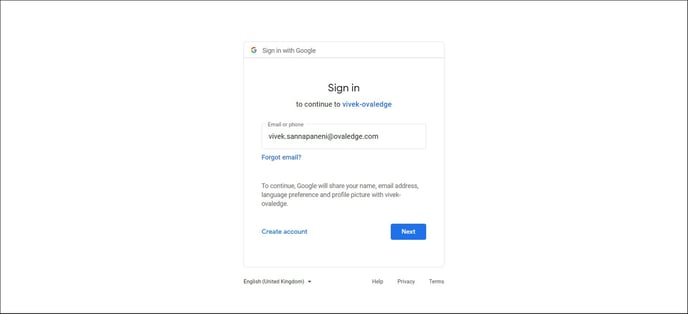
Single sign-on (SSO) is a session and user authentication service that permits a user to use one set of login credentials.
Example: name and password - to access multiple applications.
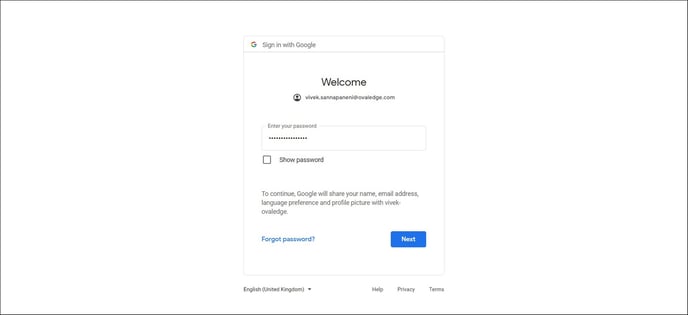
SSO can be used by enterprises, smaller organizations and individuals to ease the management of various usernames and passwords.
How to do OAuth2 Configuration?
Follow the below steps for OAuth2 configuration:- Go to https://console.developers.google.com/
- Click on CREATE PROJECT to create a new project.
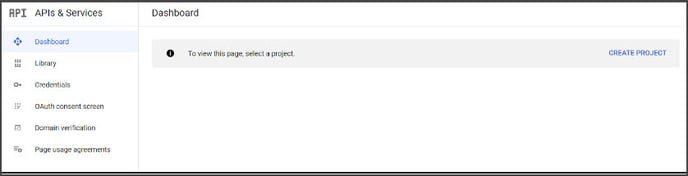
- To create a project, enter the Project Name and click CREATE.
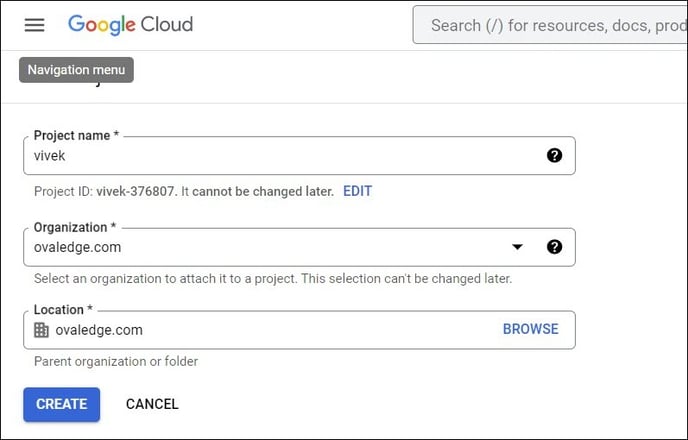
After successfully creating a project, the below screen will be displayed.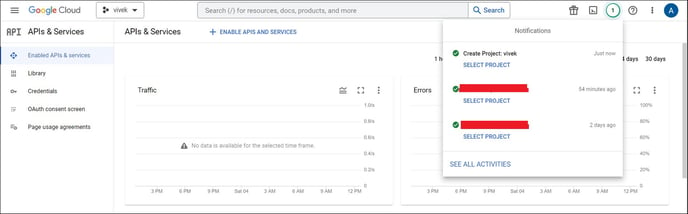
- Click on the project name and select the project and click OPEN.
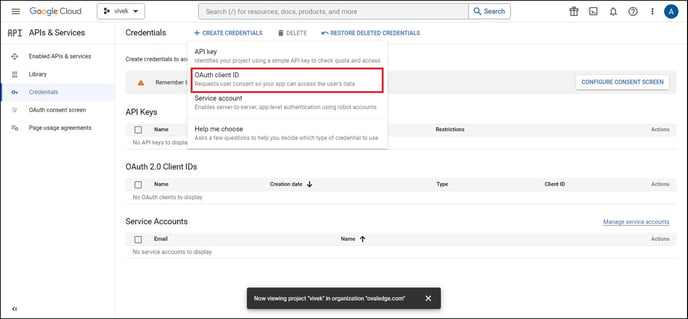
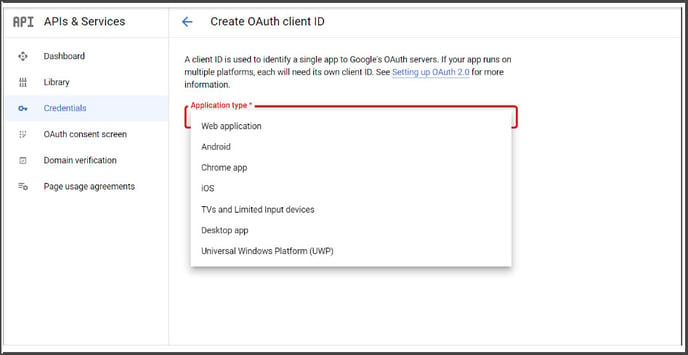
- Select Credentials and then click on CREATE CREDENTIALS.
- Select OAuth Client ID as shown below:
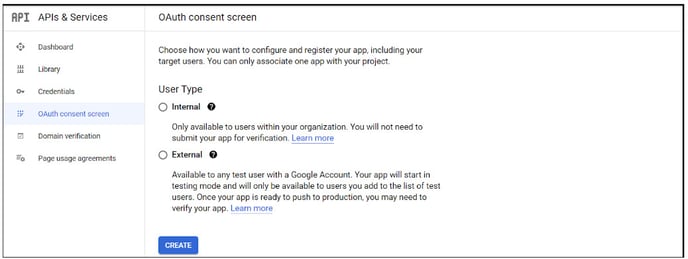
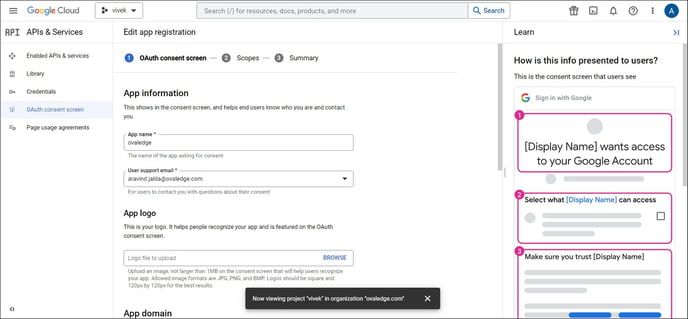
- Select Configure consent screen.

- Select CREATE to create a consent screen.
Note: Select the appropriate type for the organization (Recommended Internal).
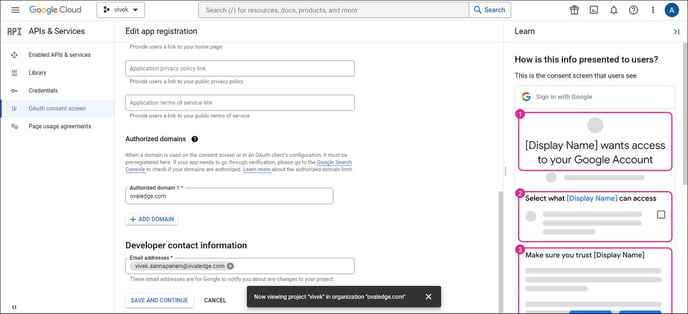
- Enter the Application name, Application logo, Support email, and Authorized domain, and then click Save.
- Repeat steps 5 and 6.
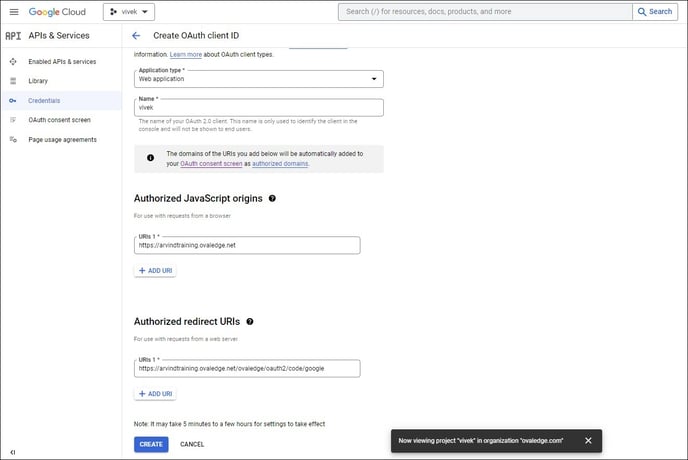
- Select Web application from the Application type.
- Enter Name for Web Client.
- In the Authorized JavaScript origins, enter http://localhost:8080 (domain may change in your case)
- In the Authorized redirect URIs, enter http://localhost:8080/ovaledge/oauth2/code/google (Domain may change in your case)
- Click CREATE.
- Copy Client ID and Client Secret and enter them in oasis.properties with keys.
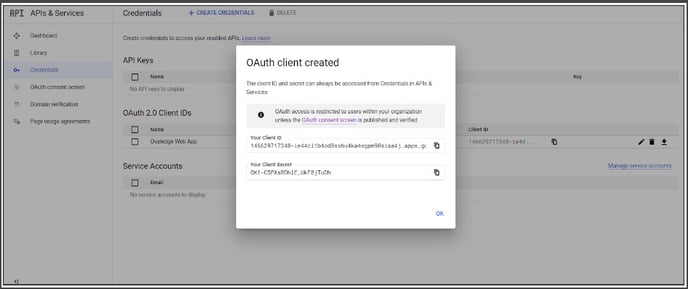
After clicking on the Ok button, we get the below screen: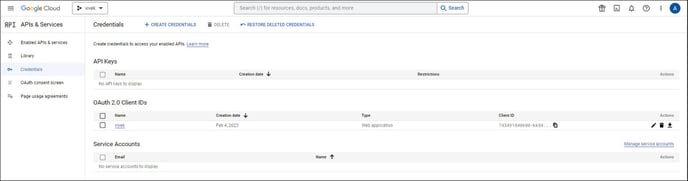
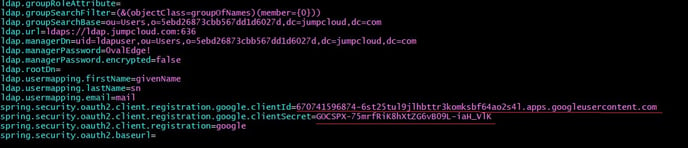
In oasis.properties file,
spring.security.oauth2.client.registration.google.clientId=your client id
spring.security.oauth2.client.registration.google.clientSecret=your client secret
To Enable OAuth2 in OvalEdge
Use -DOVALEDGE_SECURITY_TYPE=oauth2 as VM Argument
Tomcat changes
A. Windows platform
Create a setenv.bat file in the tomcat bin directory and add this to setenv.bat and save it as shown below:
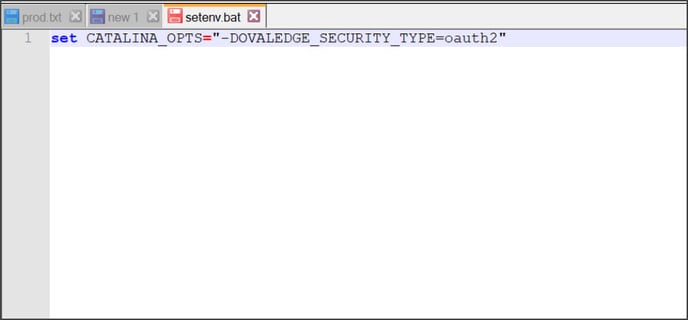
set CATALINA_OPTS="-DOVALEDGE_SECURITY_TYPE=oauth2"
B. Linux / Unix platform
Create a file with name setenv.sh and add the following line:
export CATALINA_OPTS="-DOVALEDGE_SECURITY_TYPE=oauth2"

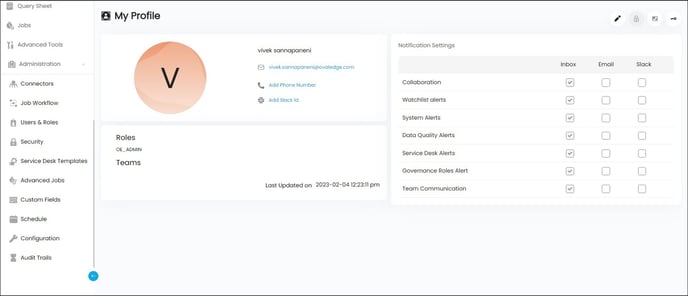
17. Start the server. Now you have connected with the Ovaledge application.