The entire Data Classification process is broken down into two major steps:
Step 1:

Step 2:

Filter Data Objects by data Classification:
The Filter by Classification option in the data classification pane enables the user to filter all the classified terms/tables/table columns/files/reports by classification type.
This can be done by Selecting a Domain name in the Data classification module under the governance catalog. The classifications are all listed next to the selected domain.

- Select a data object (Business Glossary/tables/table columns/files/reports)
- Select one or more classification types. An icon
 is displayed next to selected classification types.
Note: Click the selected box to deselect the classification. - The result displays all the data objects that have the selected classification type.

Actions Performed in Data classification Module
In OvalEdge, users can update tags and terms to multiple data objects at once.
How to Add Tag to multiple Terms:
This can be done by selecting a specific Domain to get Domain-specific results under Data classification in the Governance catalog.
Select Business Glossary to display the terms. Click the box ![]() on the header to select all the terms. An icon
on the header to select all the terms. An icon ![]() is displayed next to all the records. Alternatively, click the box
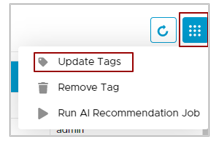
is displayed next to all the records. Alternatively, click the box ![]() next to select the term individually. Click the icon
next to select the term individually. Click the icon ![]() and select Update Tags to organize the selected terms. A new page opens to enter and add tags.
and select Update Tags to organize the selected terms. A new page opens to enter and add tags.
- Enter a few letters of a tag name to update or choose from the drop-down list. In this example, we add a child tag named Admission to the selected terms.
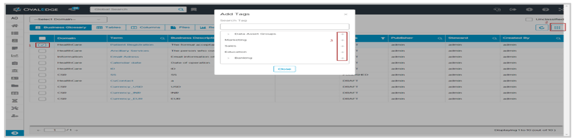
2. Click Save to add the tags.
All the terms are tagged and the associated data objects to the term are automatically organized under the respective tag.
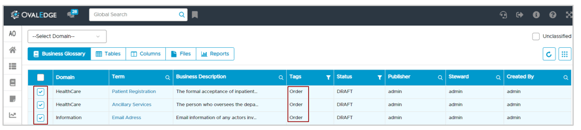
3. Validate the tags from the Home Page. 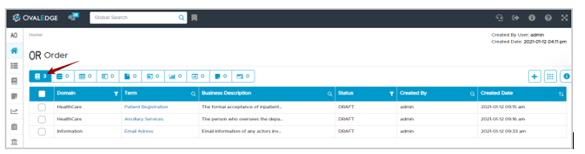
Run AI recommendation job
To add terms to multiple records of a selected data object,
- Select the Governance catalog > Data classification module.
- Select a data object (tables/columns/files/reports).
- By default, the selection of a data object lists all the classified records. When a data object is said as classified, it means that the data object has a term associated with it.
- To select unclassified data objects, click the box
 next to unclassified. In OvalEdge, we define Unclassified data objects as those objects that do not have a glossary term associated with it. Selecting unclassified clears the filtering through the Domain layer and lists all the unclassified terms across the entire data network.
- Click the box on the menu bar next to the Database to select all the records listed in that domain. An icon
 is displayed next to all the records. Alternatively, click the box next to each data object to select individually. Click the icon
  and select Update Term to insert terms to the selected objects. A new page opens to enter and add terms.
- A pop-up window with the option to choose a domain and select classification appears.
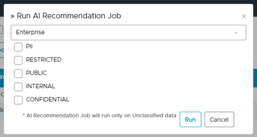
- Select domain and classification and click RUN.
- A new job to classify data assets is executed.
- All the recommendations are displayed against the elements in the Recommended terms field.
