This guide provides a detailed, step-by-step process to configure Single Sign-On (SSO) for the OvalEdge application using OneLogin. It covers the entire process, from logging in to OneLogin, creating a SAML application, configuring SSO parameters, setting up roles and groups, adding users, obtaining SAML metadata, and finalizing the configuration on the OvalEdge application. This ensures a secure and seamless login experience for users, managed centrally via OneLogin.
Prerequisites
- Access to the OneLogin Admin Portal with Administrator rights.
- DNS or IP address for the OvalEdge application.
Step-by-step process to configure SSO
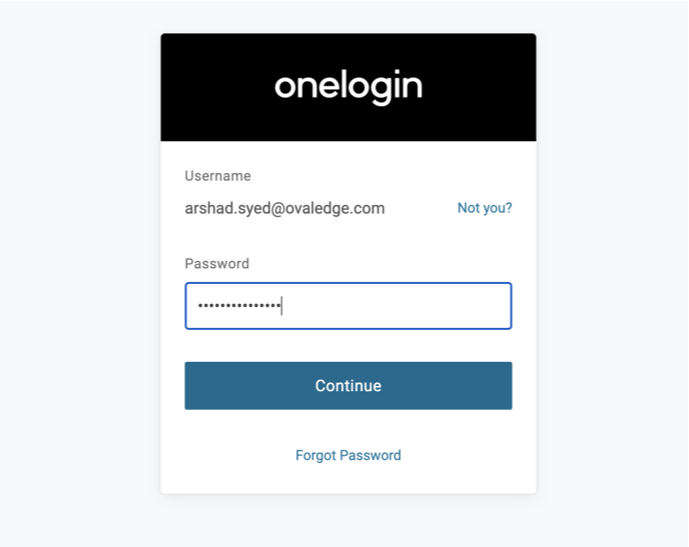
Step 1: Log in to OneLogin
- Go to the OneLogin portal.
- Enter your valid credentials and click Continue.
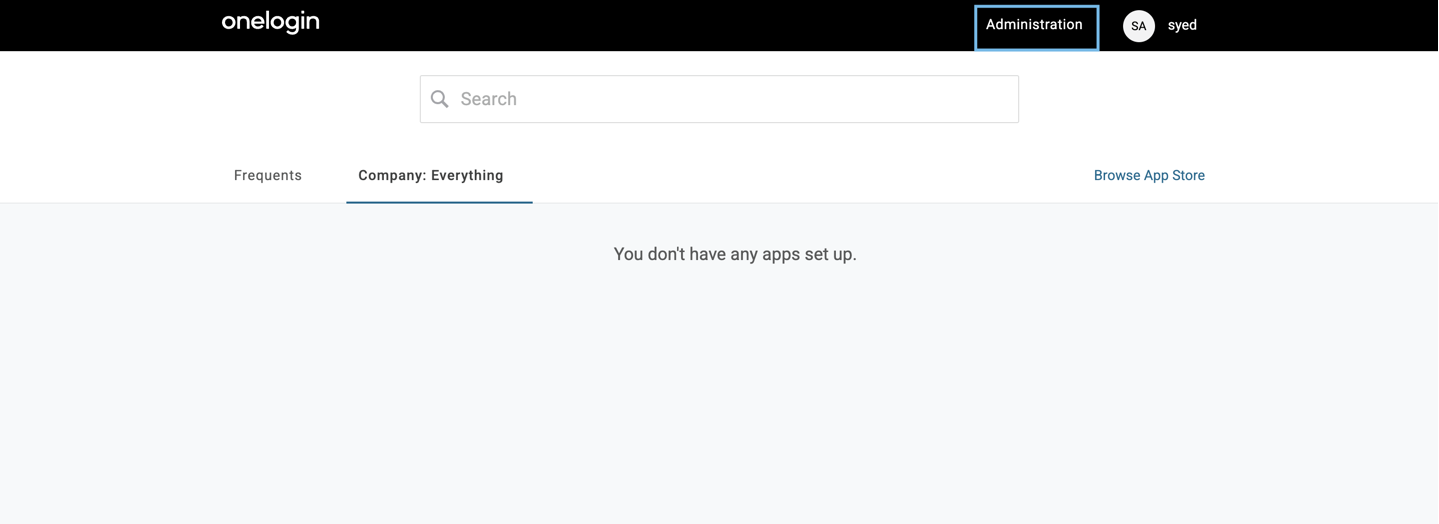
- Click Administrator to access the admin console.
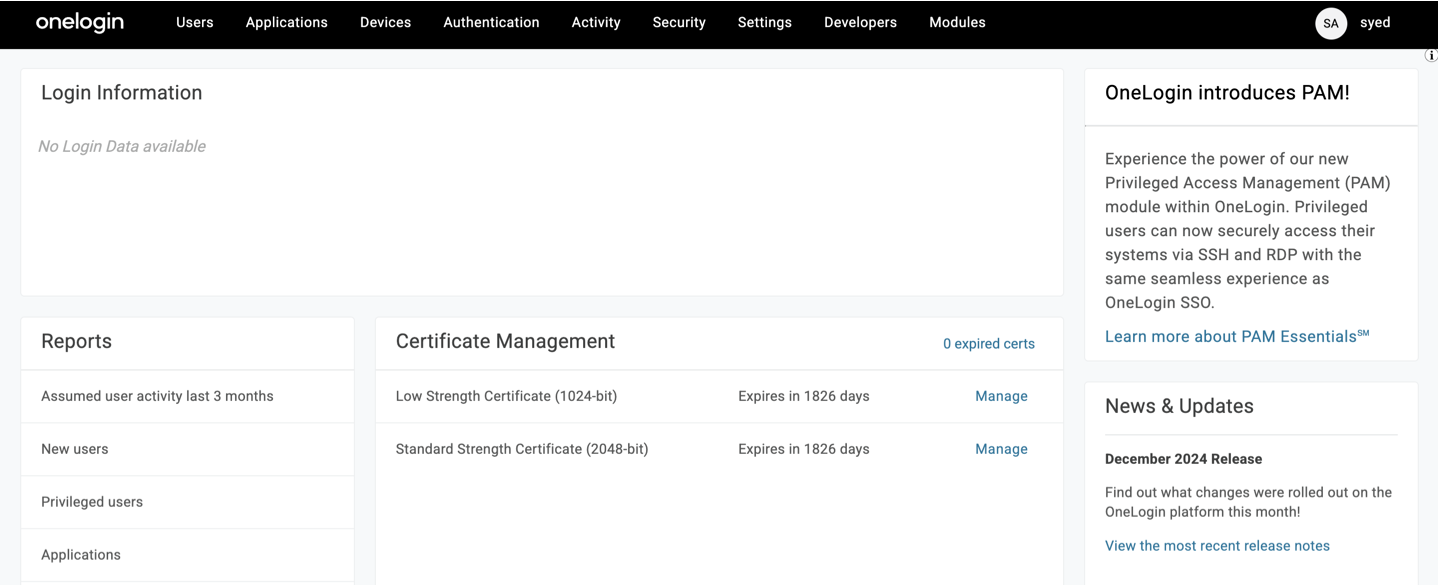
- Now, the following page displays.
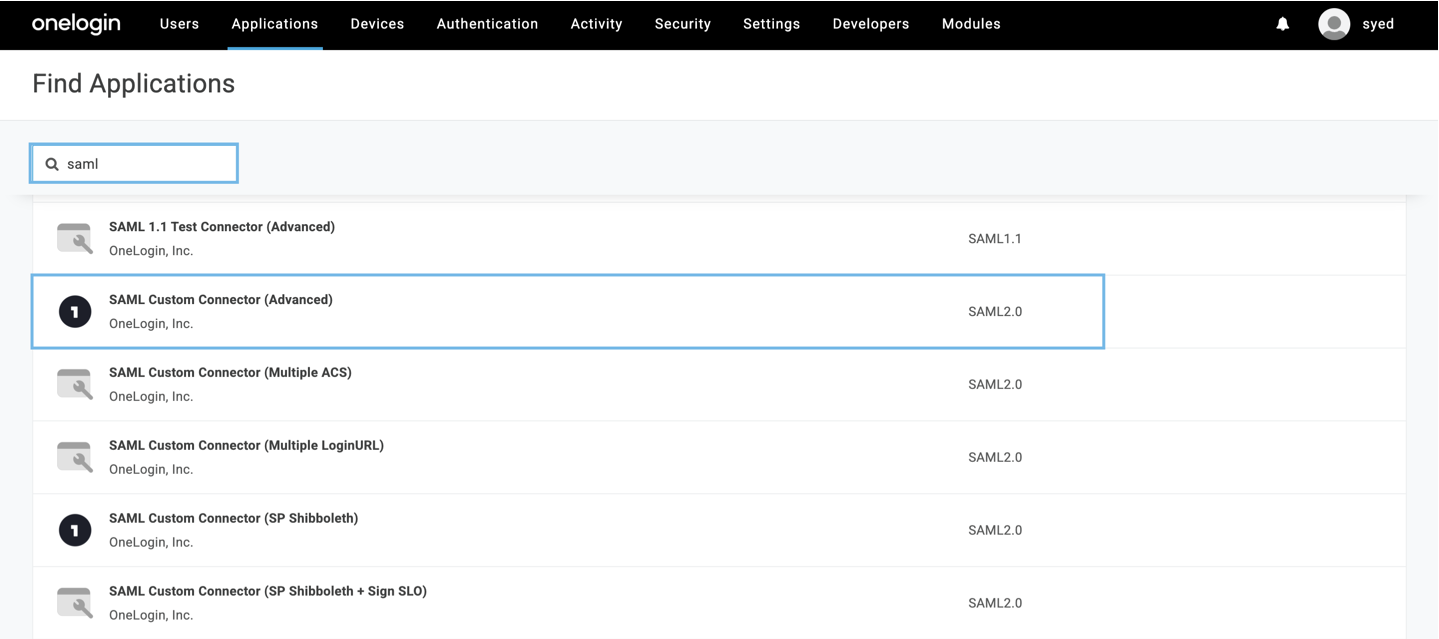
Step 2: Create a SAML Application
- Navigate to Applications > Add App.
- Search and select SAML Custom Connector (Advanced).
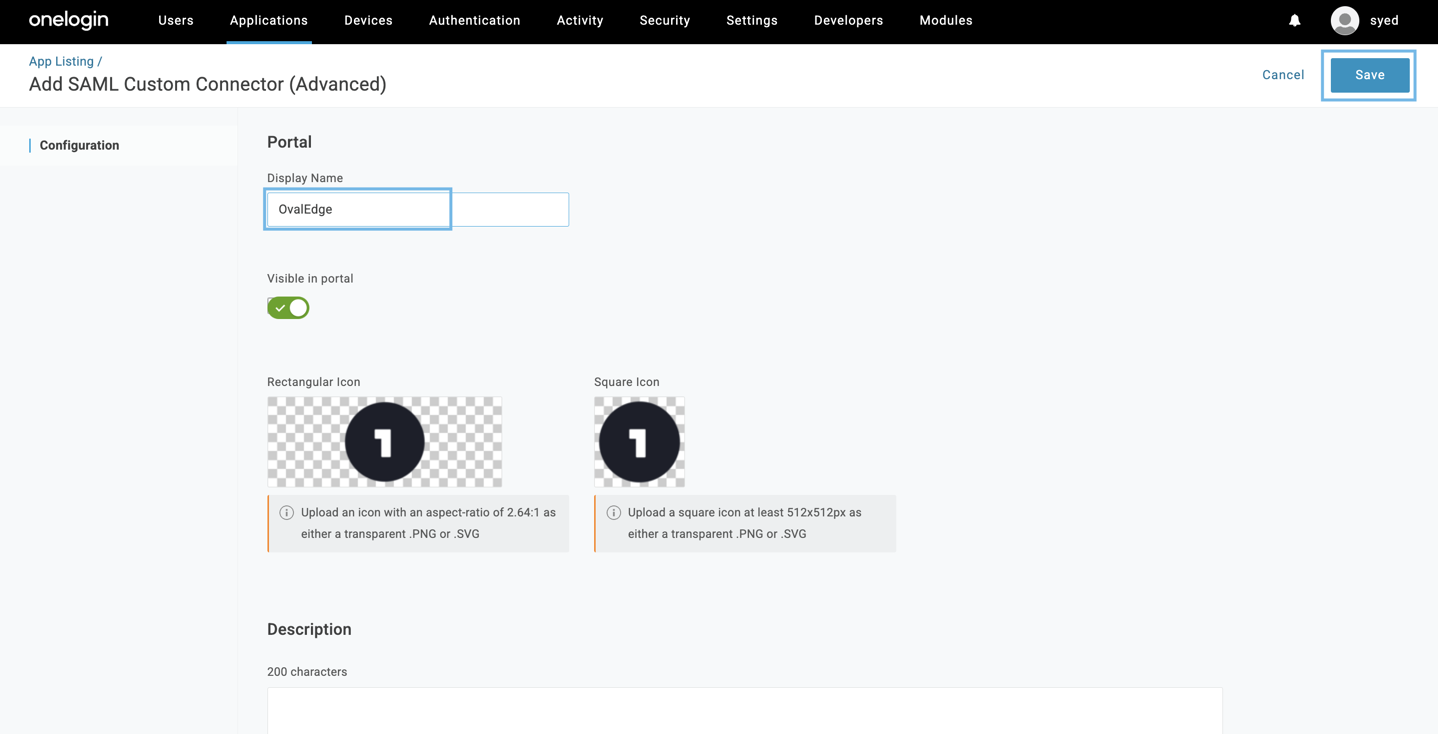
- Set a display name for the application (e.g., OvalEdge SSO) and click Save.

Step 3: Configure SAML Settings
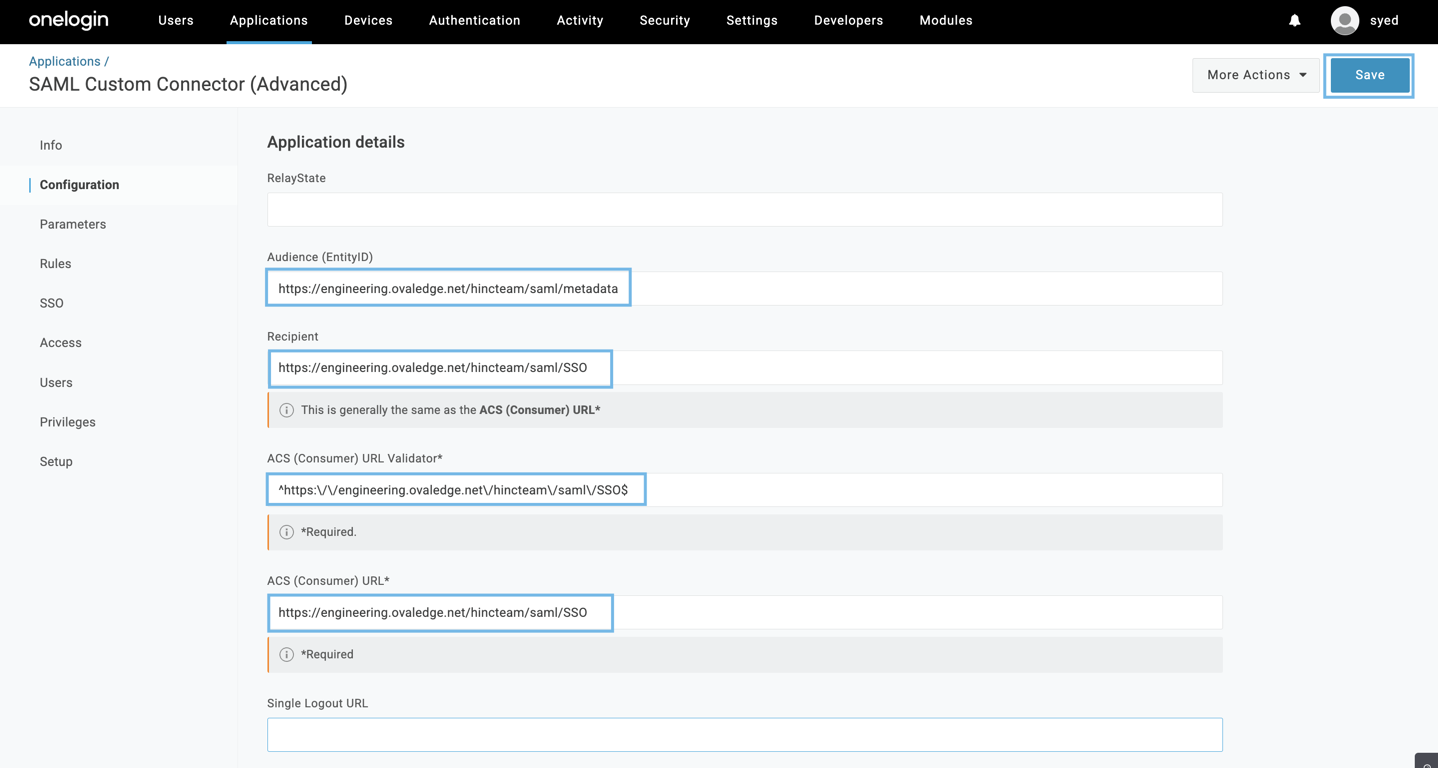
- Go to the Configuration tab.
- Enter the following values:
- Audience: https://<DNS-IP>/ovaledge/saml/metadata
- Recipient: https://<DNS-IP>/ovaledge/saml/SSO
- ACS (Consumer) URL Validator: ^https:\/\/<DNS-IP>\/ovaledge\/saml\/SSO$ (Regular Expression).
- ACS (Consumer) URL: https://<DNS-IP>/ovaledge/saml/SSO
- Click Save.
Step 4: Set Up Parameters
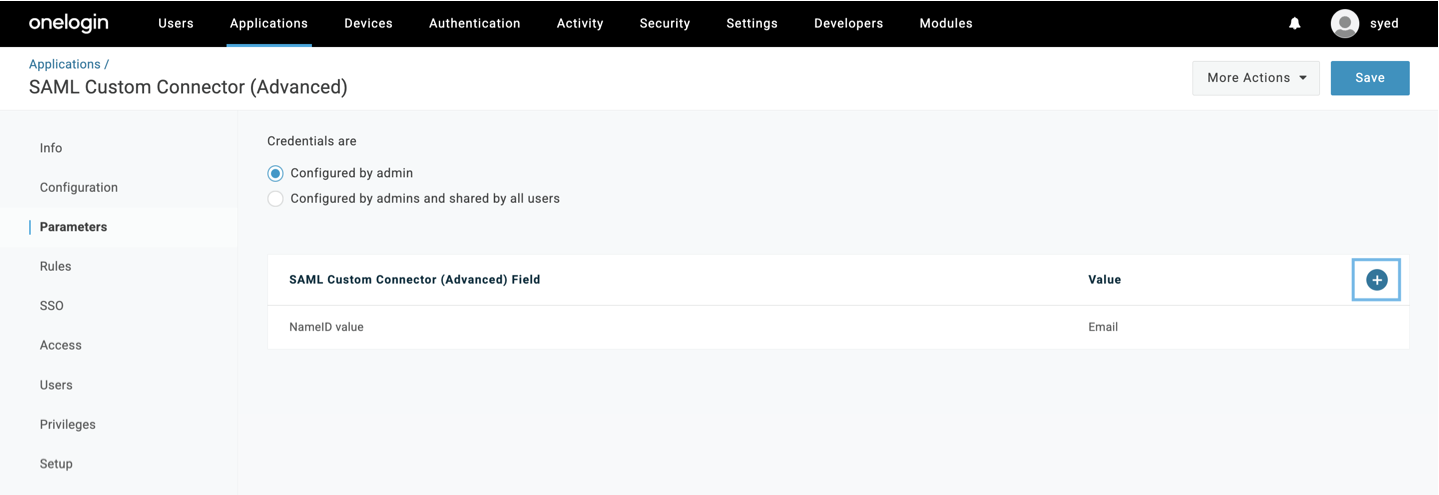
- Go to the Parameters tab and click the + icon.
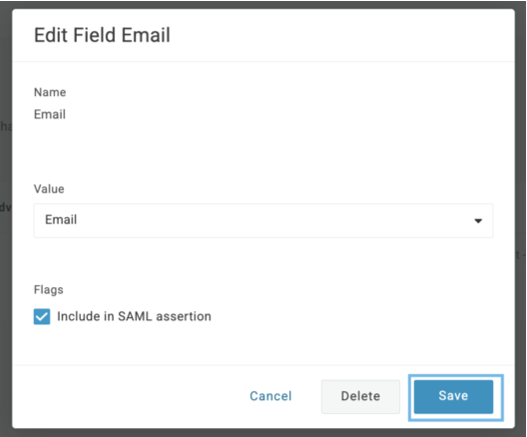
Note: Ensure the “configured by admin” option is checked for credentials. - Add the following fields one after the other, such as Email, First Name, Last Name, and Member of.
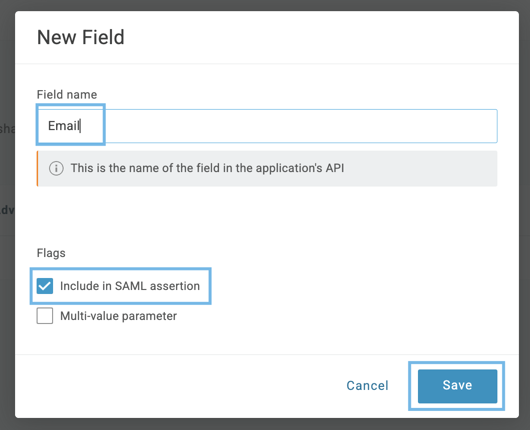
As an example, an email is explained.- Email:
Enter the Field name and select "Include in SAML assertion" as follows: - First Name
- Field Name: First Name
- Value: First Name
- Last Name
- Field Name: Last Name
- Value: Last Name
- Member Of:
- Field Name: Member Of
- Value: User Role
- Email:
- Click Save after adding each parameter. The entered data is saved, and the SSO page is displayed.

Step 5: Create Roles and Groups
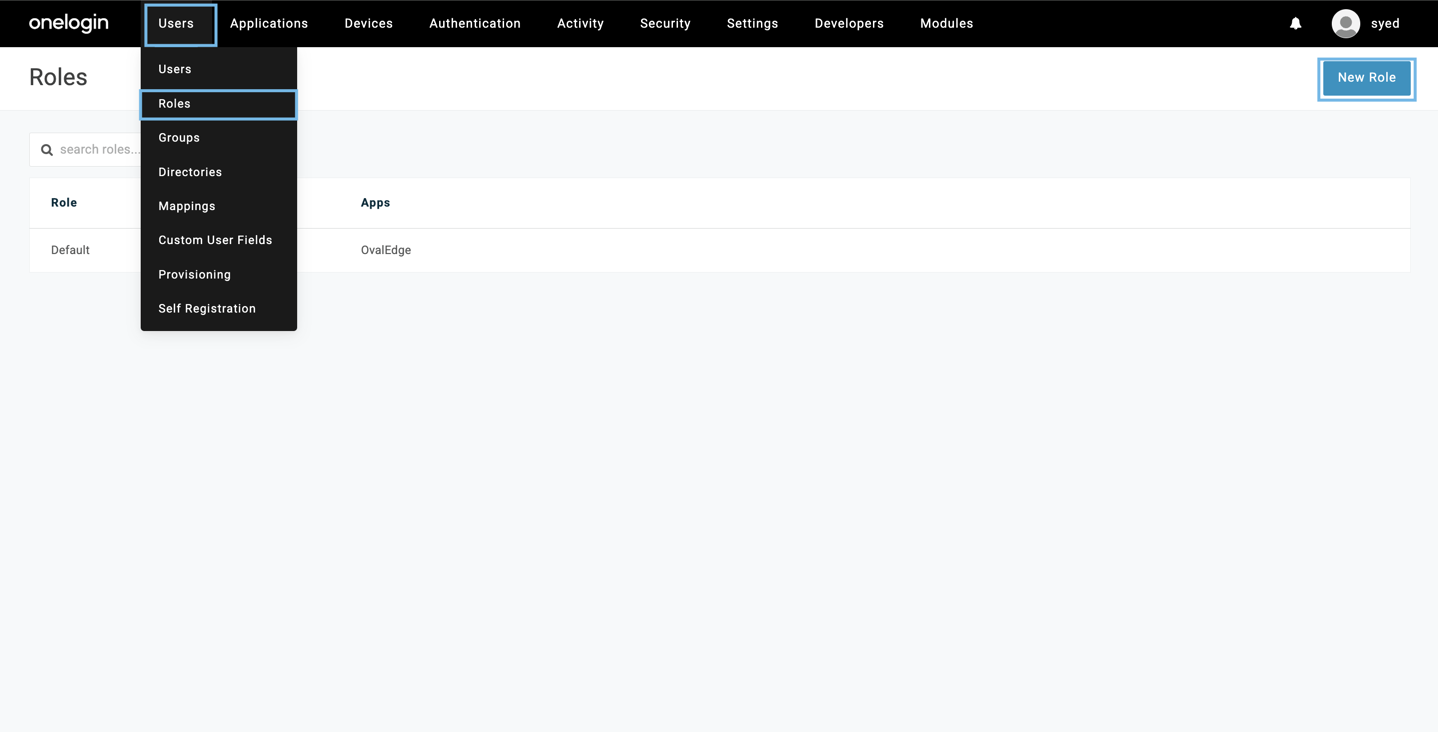
- Go to Users > Roles > Add New Role.
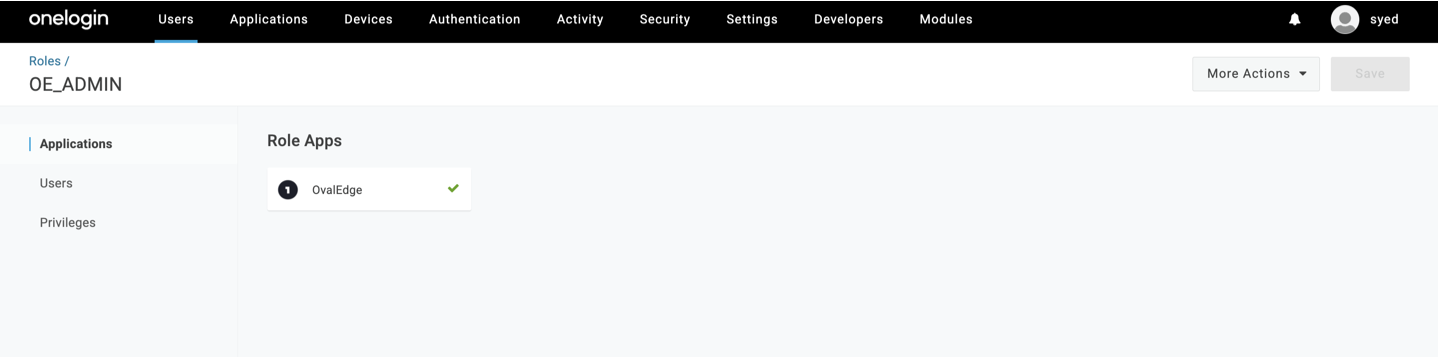
- Set the role name (e.g., OE_ADMIN, OE_PUBLIC) and assign the application.
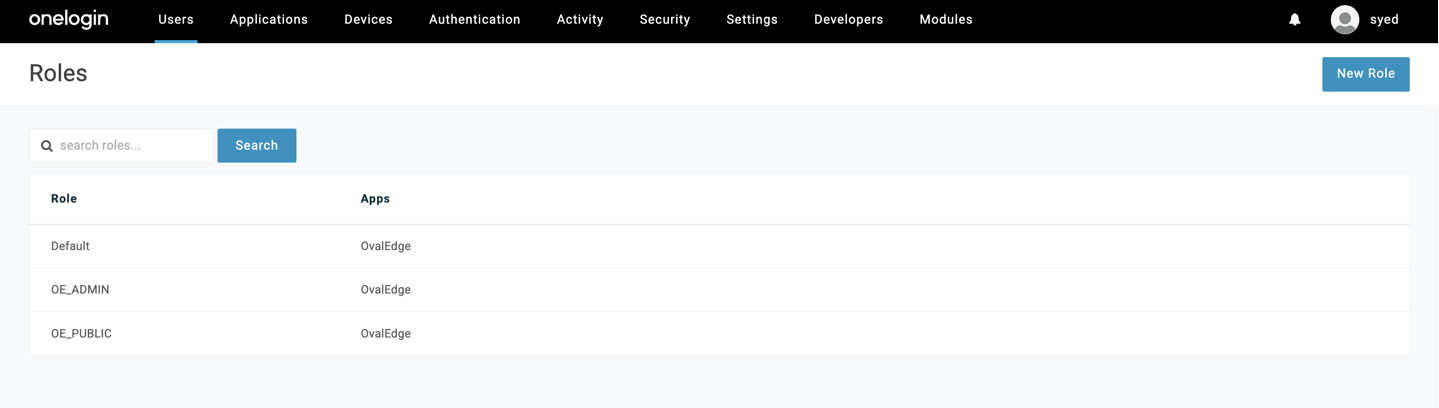
- Click Save. The created roles display as follows:
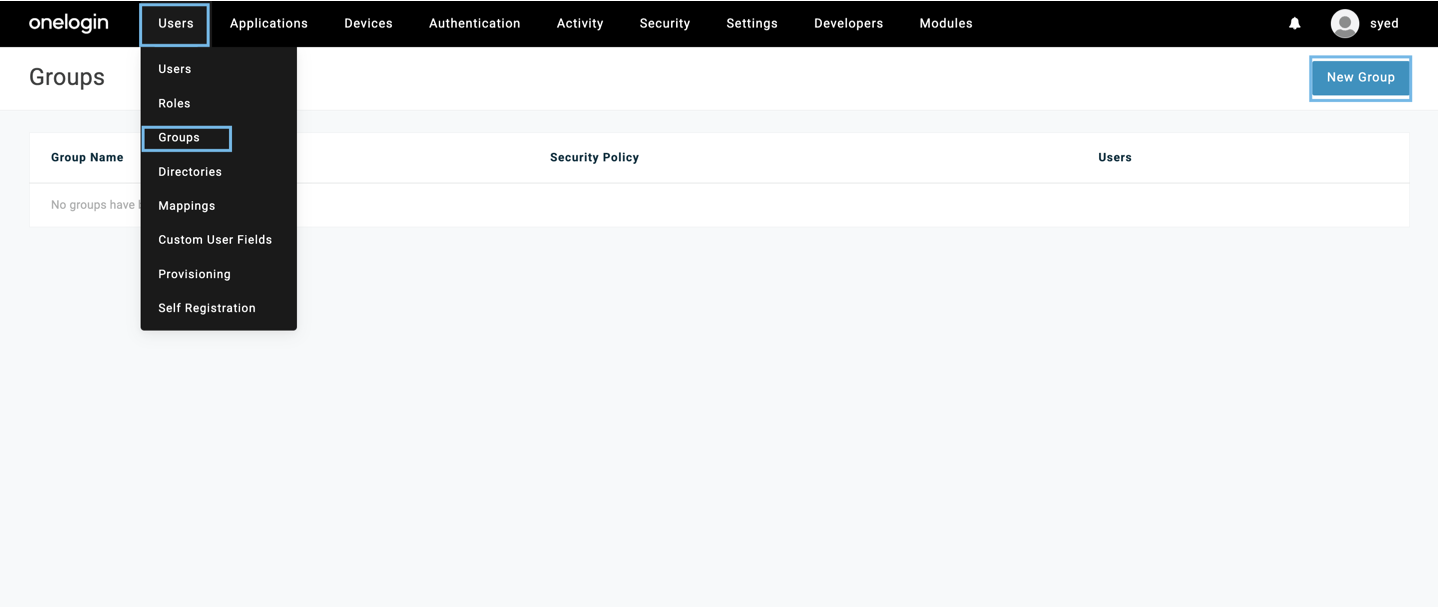
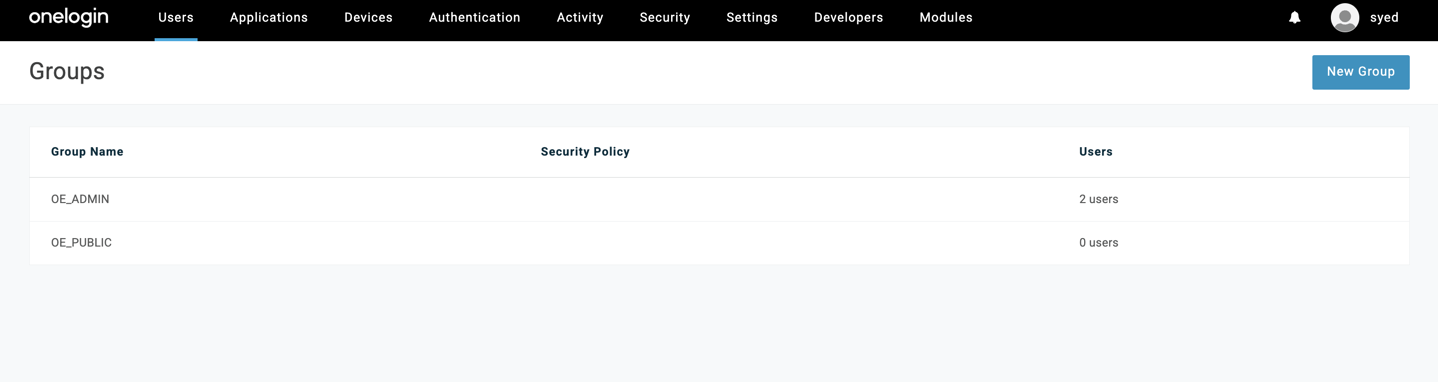
- Navigate to Groups > Add Group.
- Set a group name and click Save. The Groups page display as follows:
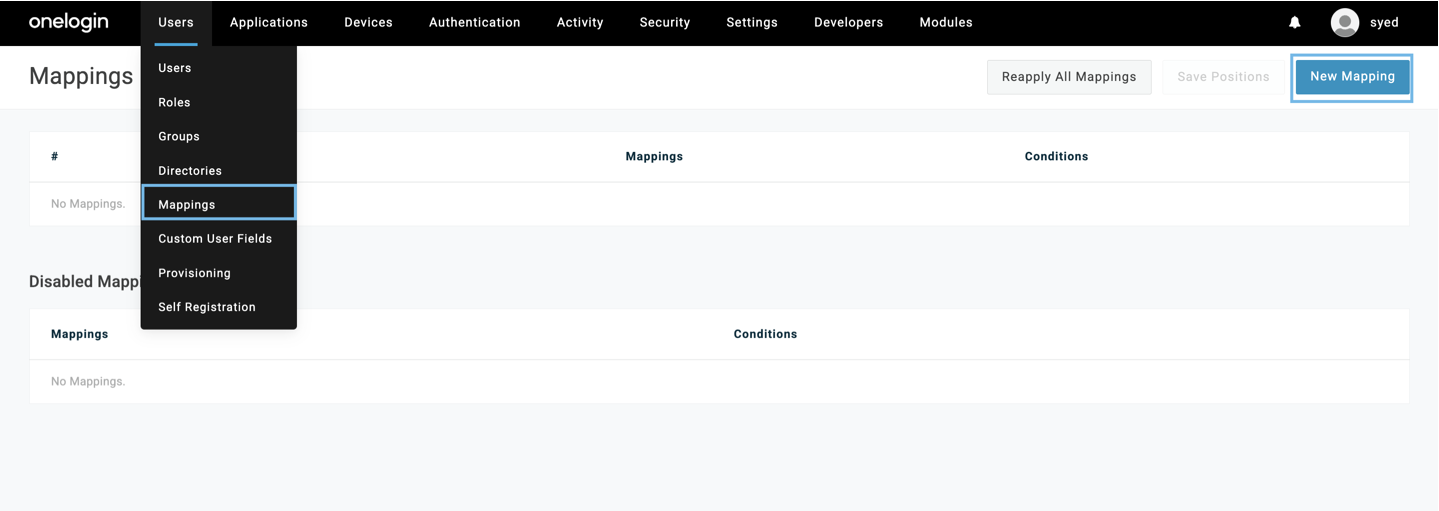
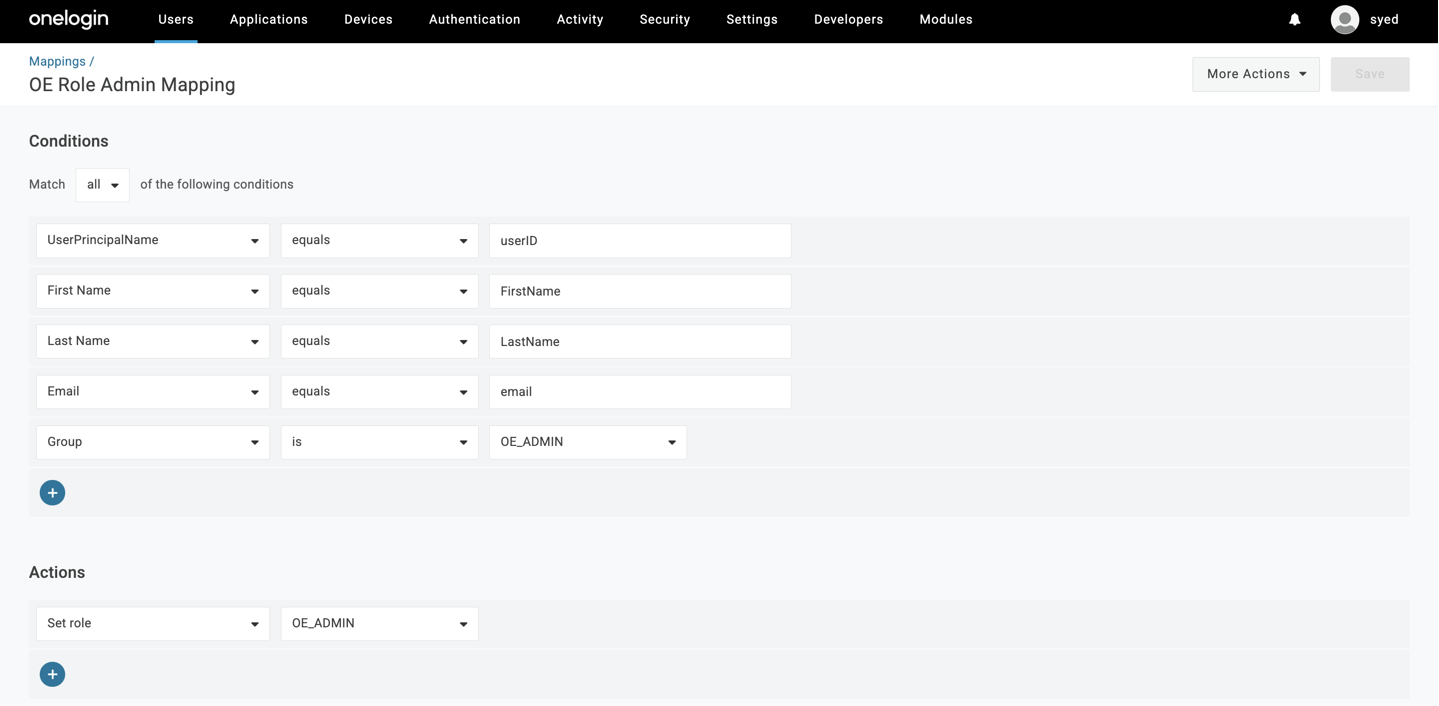
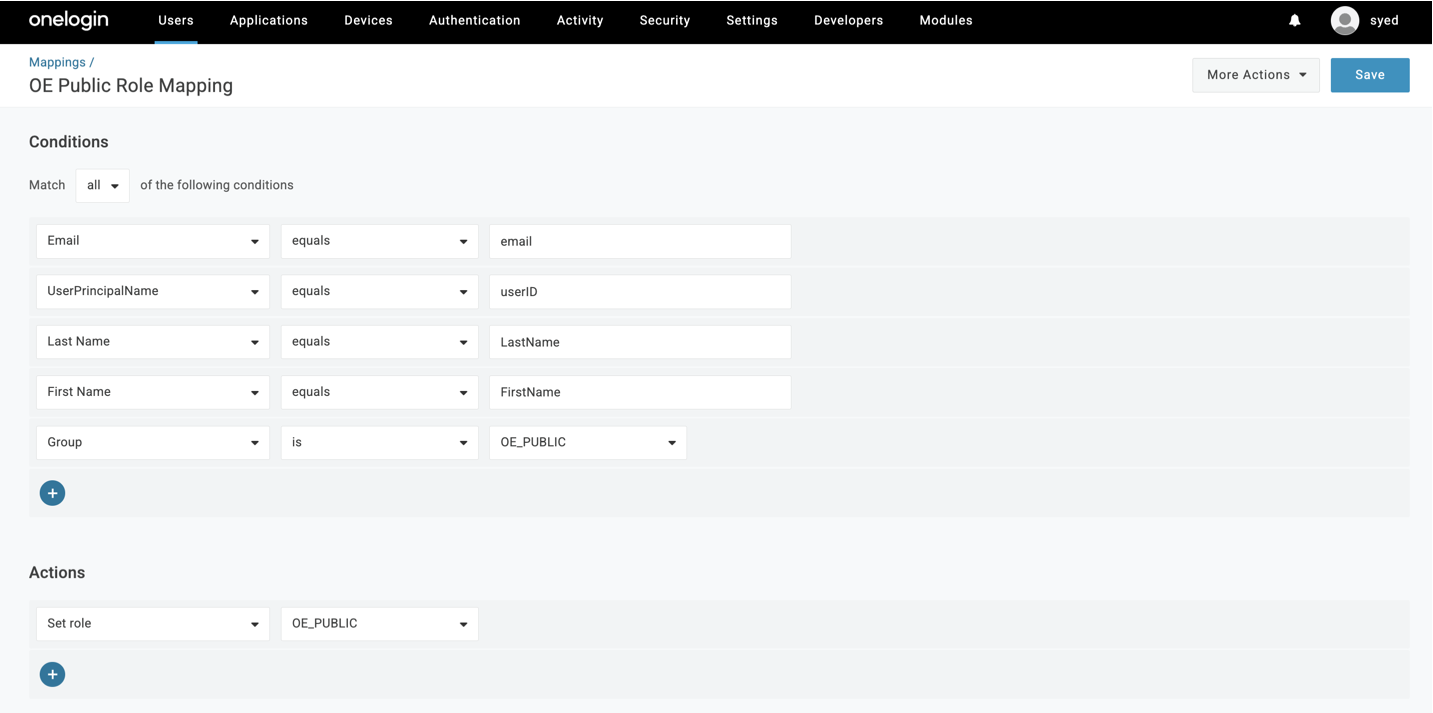
- In the same way, go to Mappings > New Mapping, and map roles as needed.
- The Admin Role Mapping displays as follows:
- The Public Role Mapping displays as follows:
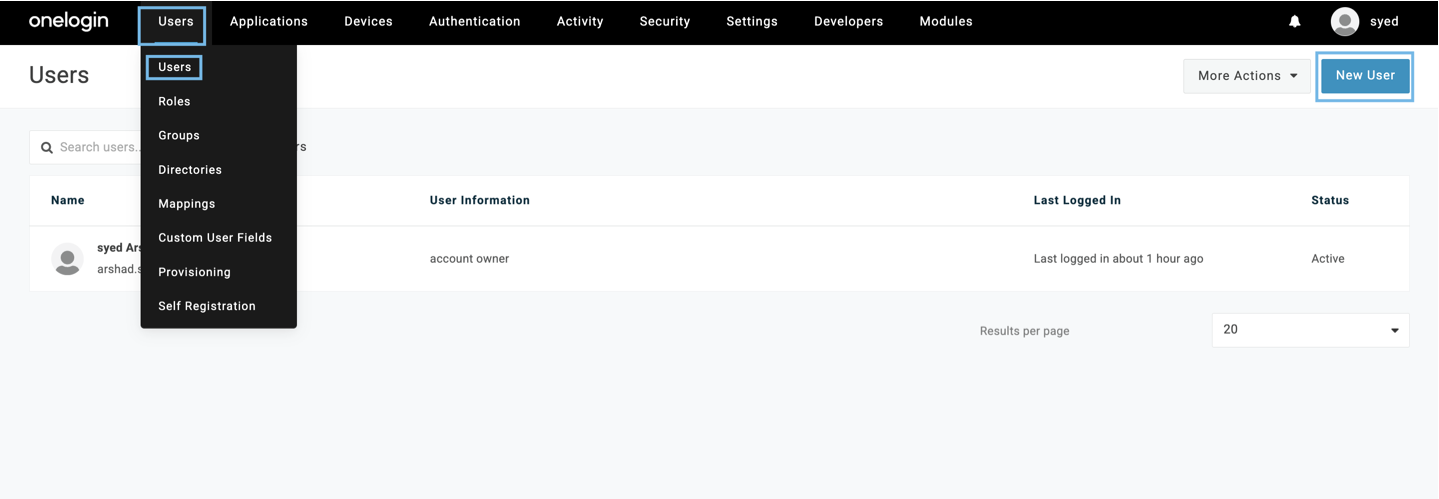
Step 6: Add Users
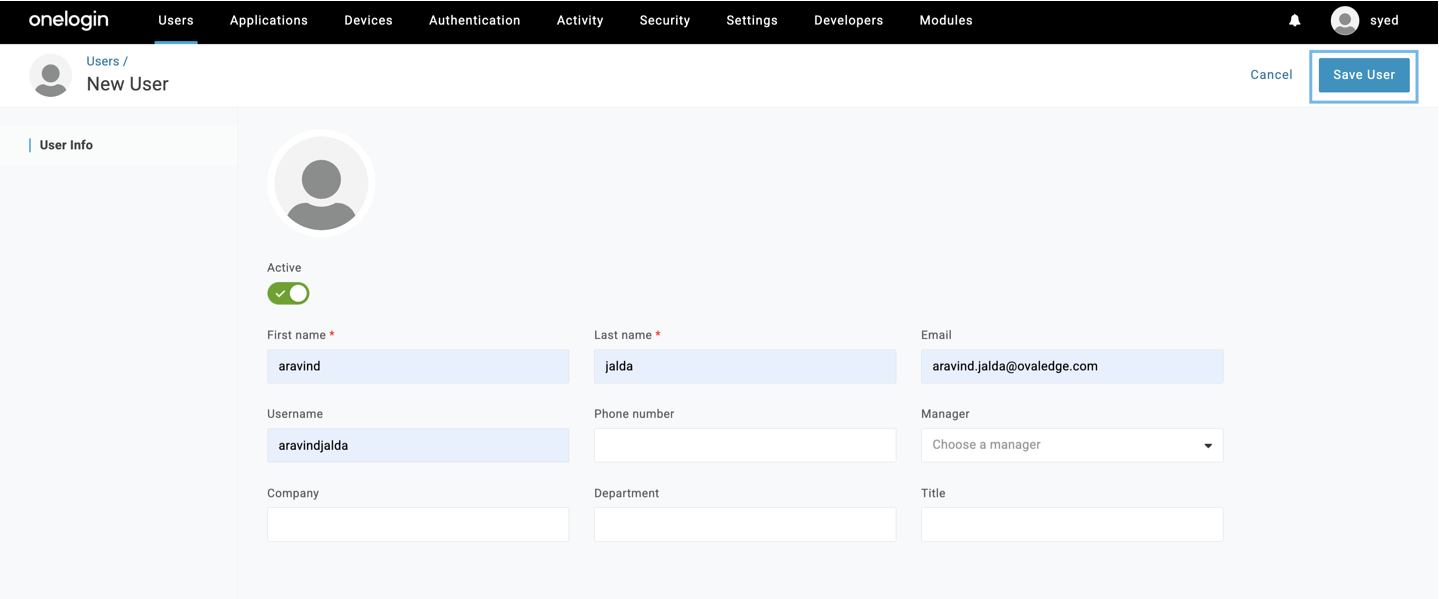
- Go to Users > New User.
- Fill in the user details and click Save User.
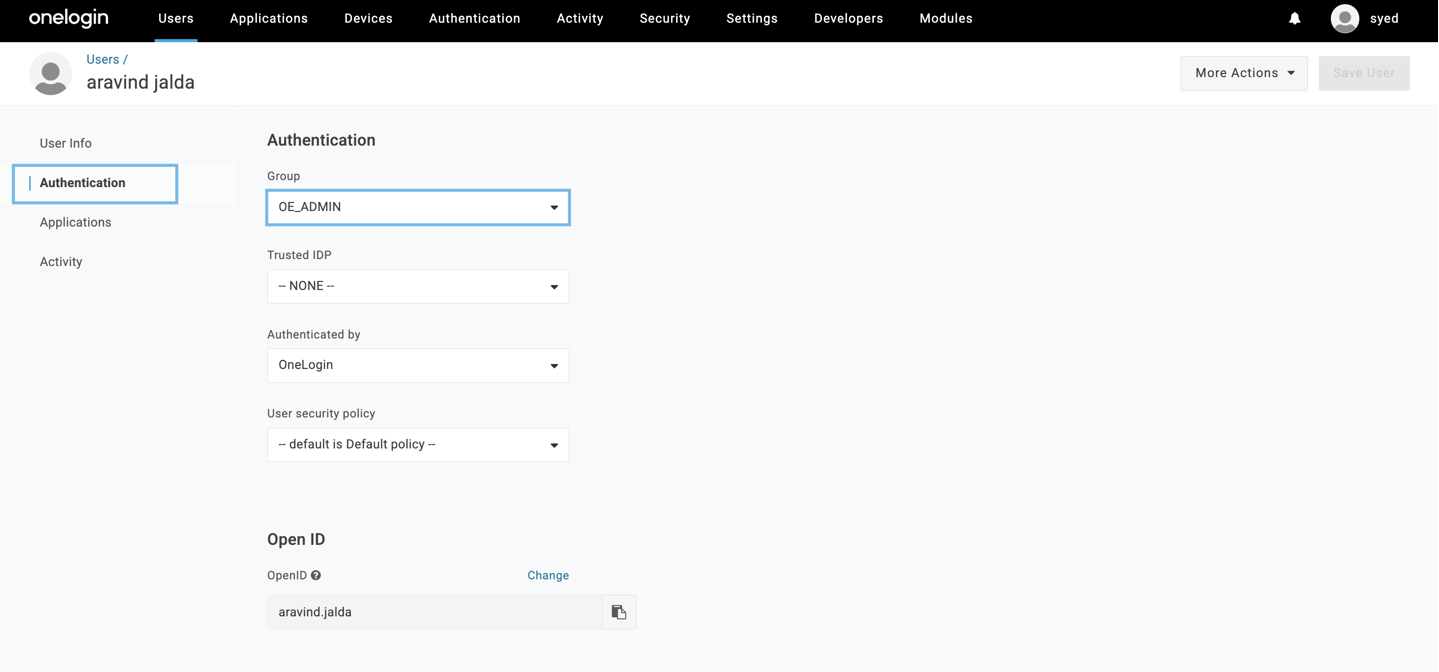
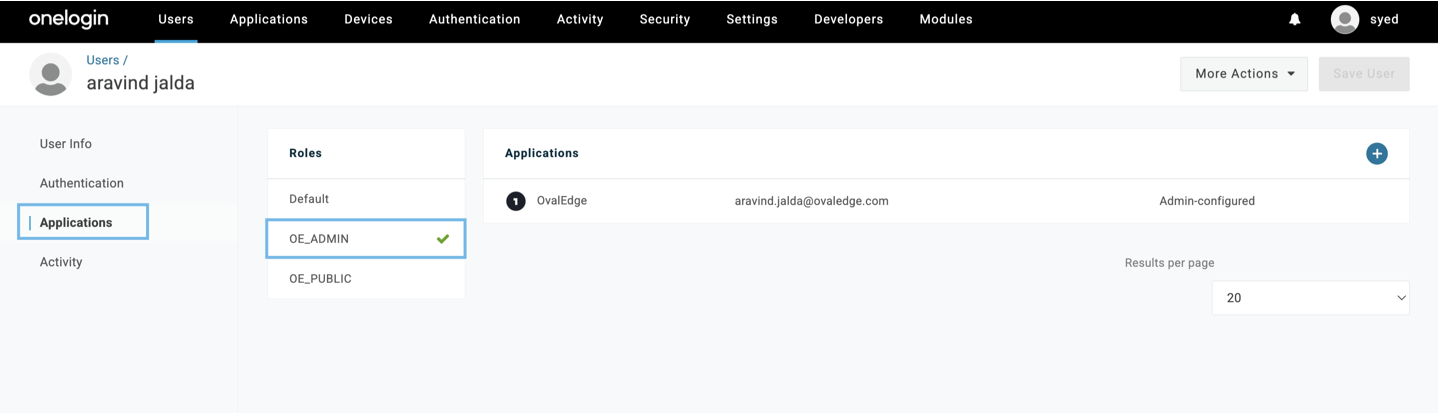
- In the Authentication tab, select the group that you created as shown below.
- From the left hand side, go to Applications, assign the role, and click Save User.
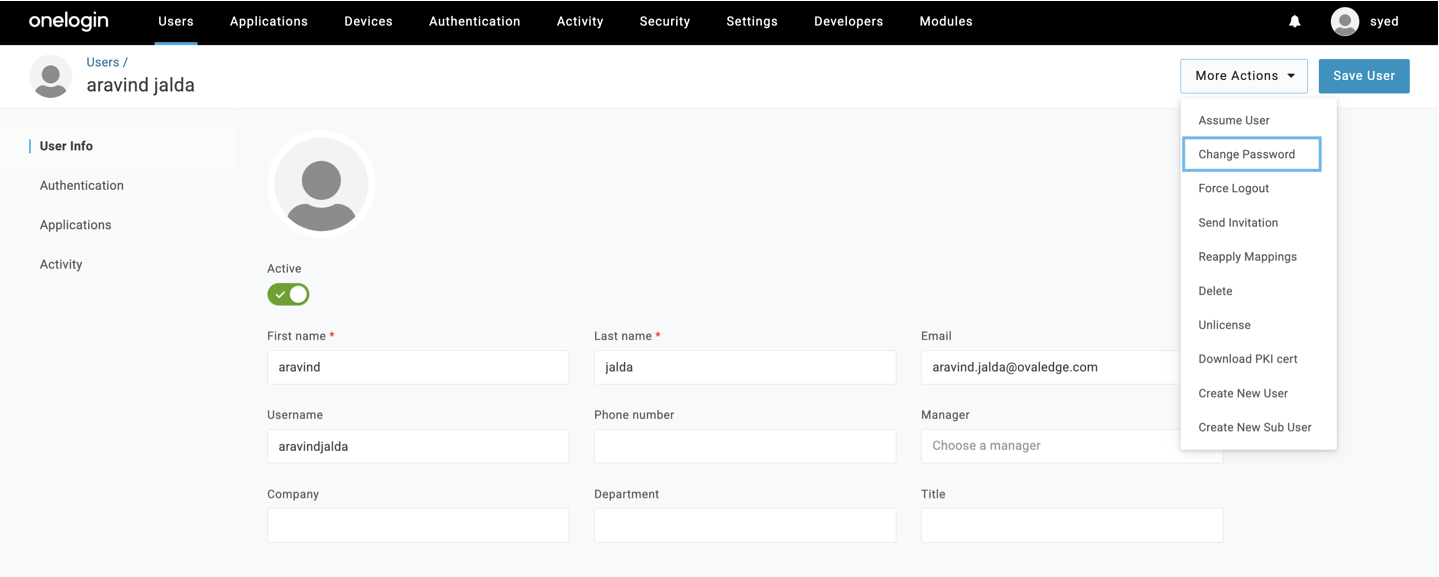
- Set a password for the user using More Actions > Change Password.
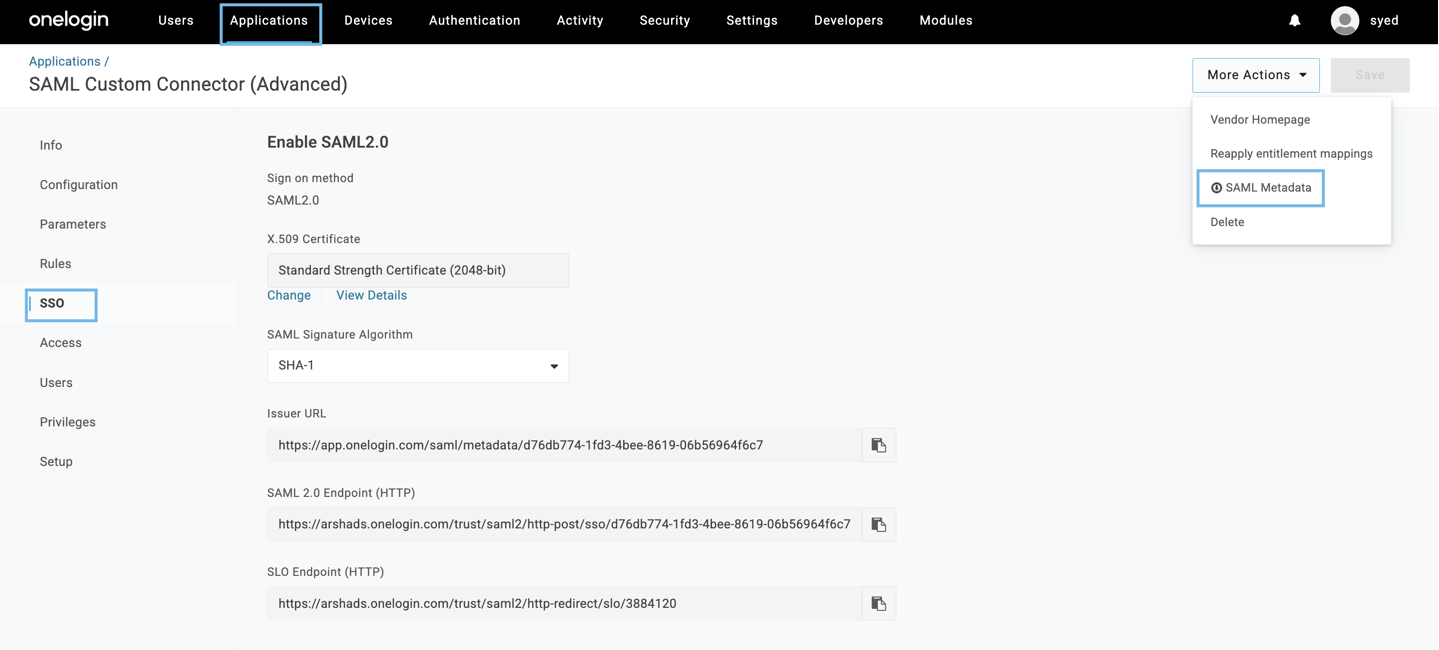
Step 7: Obtain SAML Metadata
- Navigate to Applications > SSO > More Actions > SAML Metadata.
- Right-click on SAML Metadata and copy the link.
Step 8: Configure the OvalEdge Application
- Log in to the OvalEdge VM.
- Go to the extprop folder.
- Edit the oasis.properties file and set the samlHTTPMetadataProvider with the copied SAML Metadata link.
- Go to the Tomcat bin folder and:
- For Linux: Edit setenv.sh
- For Windows: Edit tomcat9w file And
- Add/Modify the following parameter:
-DOVALEDGE_SECURITY_TYPE=saml
- Save the changes and restart the Tomcat services.

