This installation guide provides you with an overview of the steps for configuring the OvalEdge database on the AWS RDS.
Create a database in RDS
The following are the steps required for creating the database in RDS:
- Open the RDS console in the AWS and select create database option.
- Select the required configuration in the create database console and create the database.
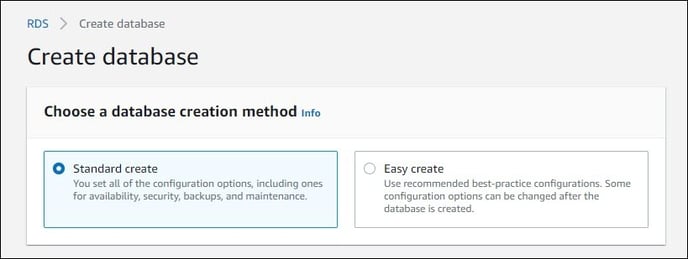
- Choose the database creation method as standard create.
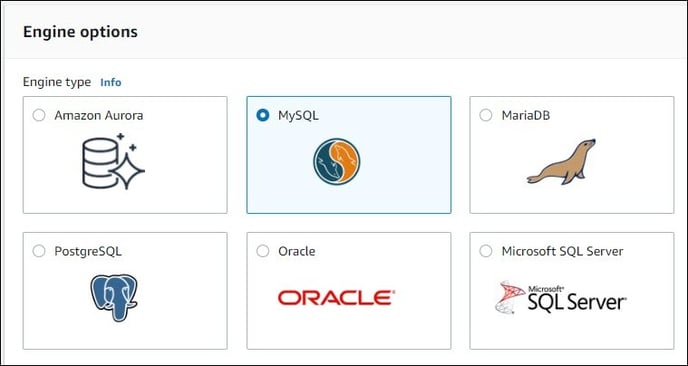
- Select engine option as MySQL.
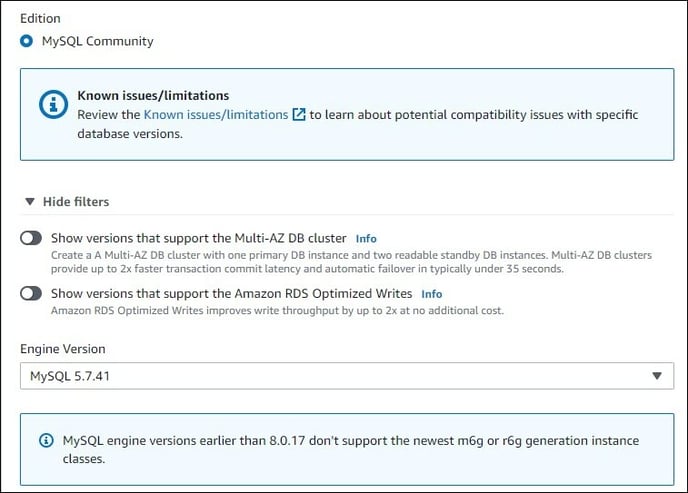
- Choose the latest MySQL version in the series of 5.7.x.
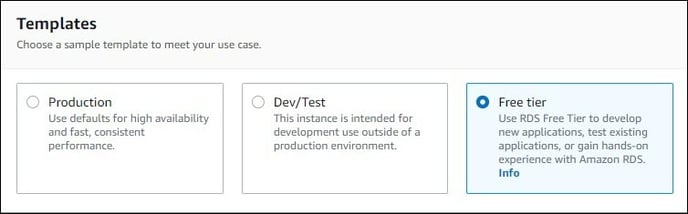
- Choose the template according to the requirement.
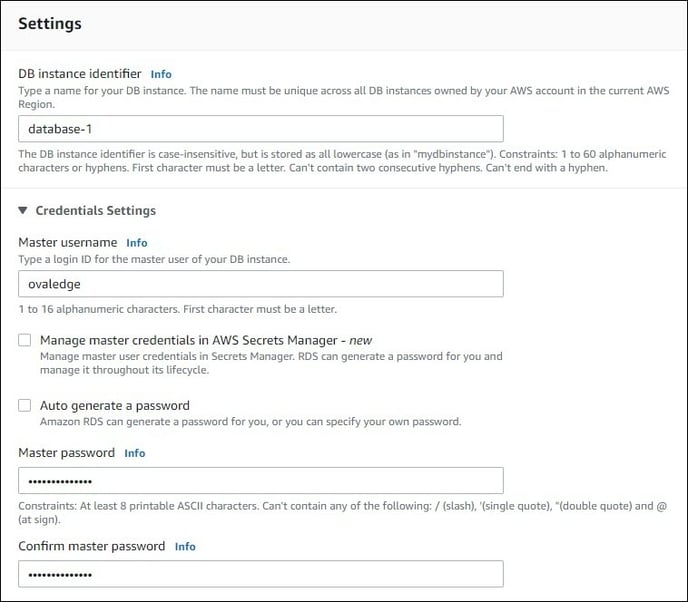
- Enter DB instance identifier.
- Choose either auto-generate password or enter the password of your choice.
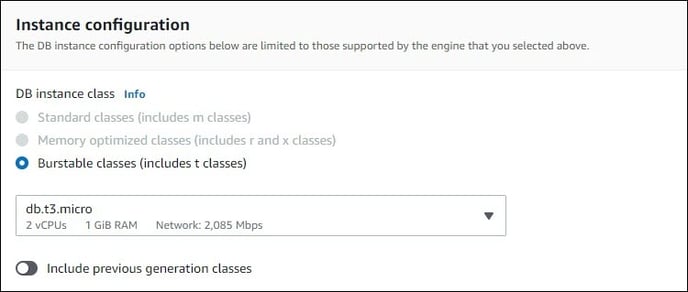
- Choose the DB instance class (RAM of the RDS).
- Choose the storage type and allocate storage space.
- Enable public access yes to connect to DB remotely.
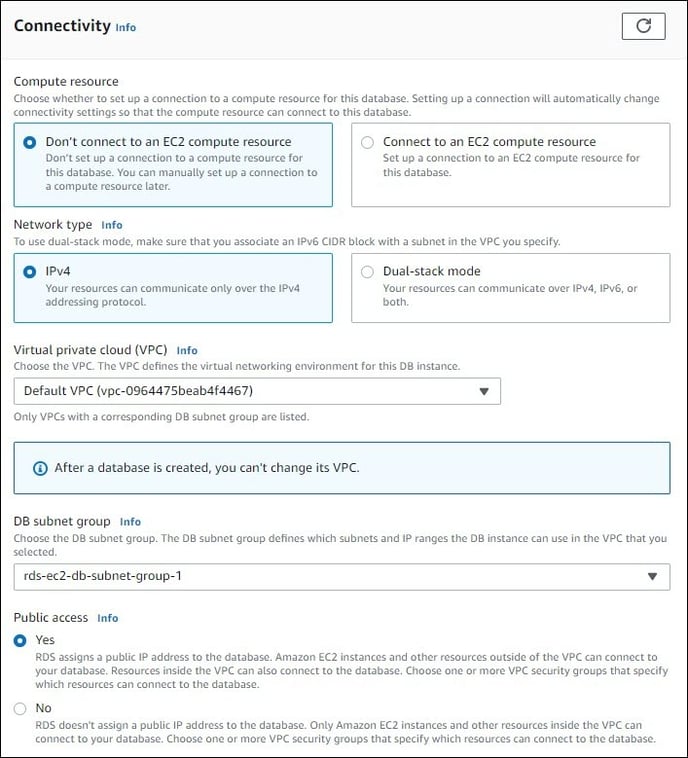
- Choose connectivity specifications as per your configuration.
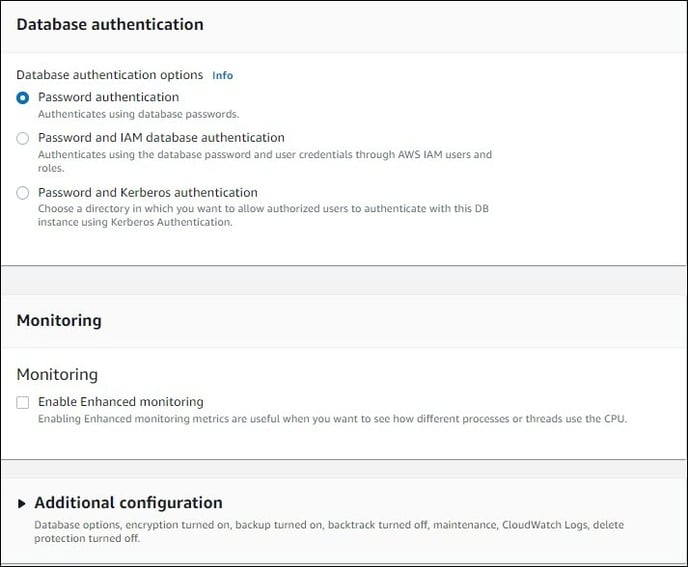
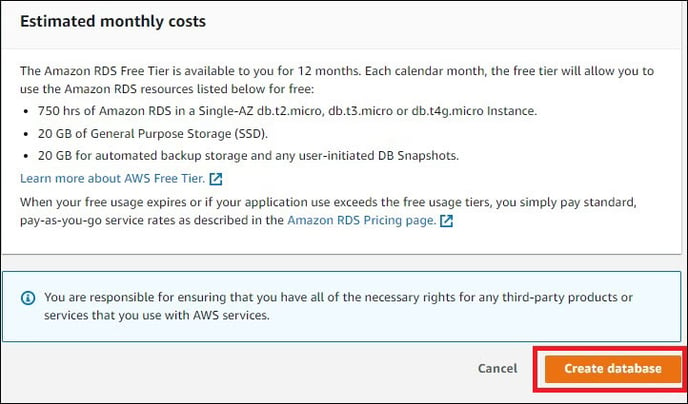
- After filling the required values in additional configuration click on create database.
- Choose the database creation method as standard create.

Create OvalEdge Schema
The following are the steps required for creating the OvalEdge Schema:
- Get the endpoint of the newly created database, as shown below:

- Connect to the database using a third-party tool by providing the required details for the connection.
For example MySQL Client
Note: MySQL Client can be downloaded from https://dev.mysql.com/downloads/installer/
Choose MySQL workbench in products during installation.

- Execute the following command with the required inputs to connect to RDS.
mysql> mysql -h <endpoint> -u <username> -p <password> -P 3306 <dbname>
A sample code is shown below: - Create an OvalEdge schema using the command given below with the SQL files provided.
mysql> source <path>\511.sql
On completion of the above-mentioned procedure, the OvalEdge Database will be ready for use.
