This article provides a comprehensive guide on installing and configuring Elasticsearch on an Ubuntu environment. The instructions cover the installation process, configuration settings, and integration with the OvalEdge (OE) application.
Elasticsearch Server Installation
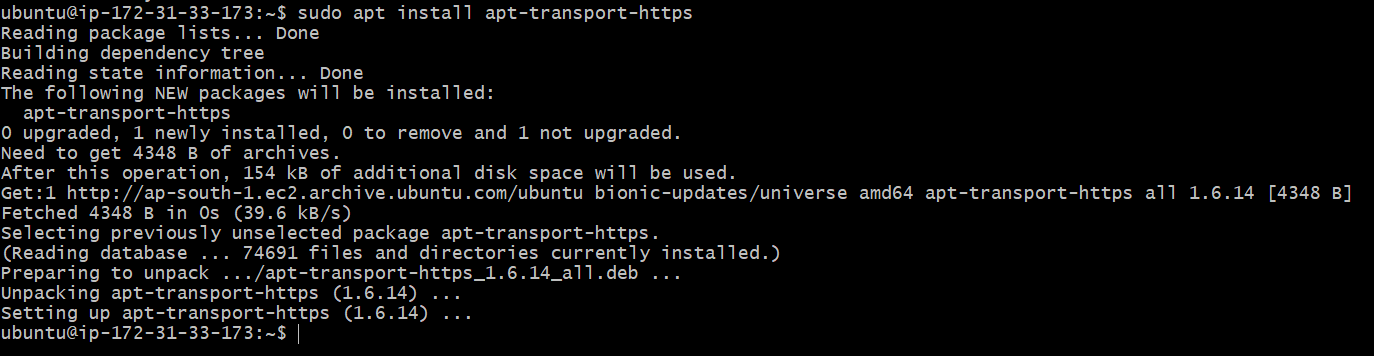
Step#1: Install APT Transport Package
- Install the APT transport package to enable access to repositories via HTTPS:
|
Shell |
|
$ sudo apt install apt-transport-https |
Sample screenshot
Step#2: Update Elasticsearch Repository
- Update the Elasticsearch repository and import the GPG key:
|
Shell |
|
$ wget -qO - https://artifacts.elastic.co/GPG-KEY-elasticsearch | sudo gpg --dearmor -o /usr/share/keyrings/elasticsearch-keyring.gpg |
- Use the wget command to pull the Public Key:
|
Shell |
|
$ echo "deb [signed-by=/usr/share/keyrings/elasticsearch-keyring.gpg] https://artifacts.elastic.co/packages/8.x/apt stable main" | sudo tee /etc/apt/sources.list.d/elastic-8.x.list |
Sample screenshot
![]()
Step#3: Install Elasticsearch
- Install Elasticsearch using APT:
|
Shell |
|
$ sudo apt-get update $ sudo apt-get install elasticsearch |
Sample screenshot

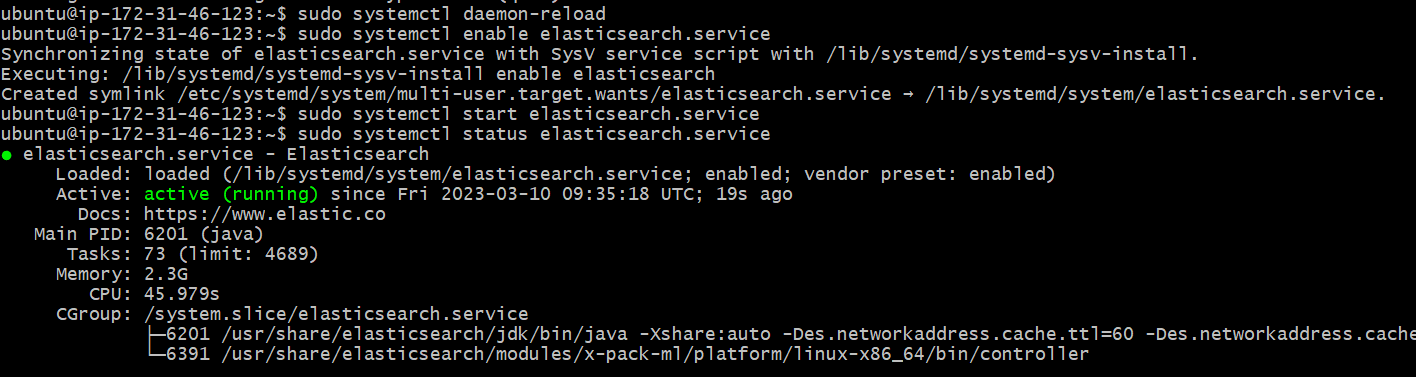
Step#4: Reload and Start Elasticsearch Service
- Reload the daemon service and enable/start the Elasticsearch service:
|
Shell |
|
$ sudo systemctl daemon-reload $ sudo systemctl enable elasticsearch.service $ sudo systemctl start elasticsearch.service |
Sample screenshot

Step#5: Check Elasticsearch Status
- Check the status of Elasticsearch:
|
Shell |
|
$ sudo systemctl status elasticsearch.service |
Sample screenshot
Configure Elasticsearch
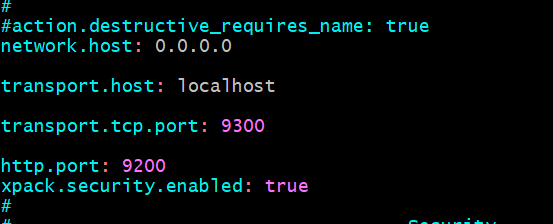
Step#6: Edit elasticsearch.yml
- Edit the Elasticsearch configuration file to customize settings:
|
Shell |
|
$ sudo vim /etc/elasticsearch/elasticsearch.yml |
- Add the following lines at the bottom of the file:
|
yaml |
|
cluster.name: ovaledge network.host: 0.0.0.0 transport.host: localhost transport.tcp.port: 9300 http.port: 9200 |
Sample screenshot
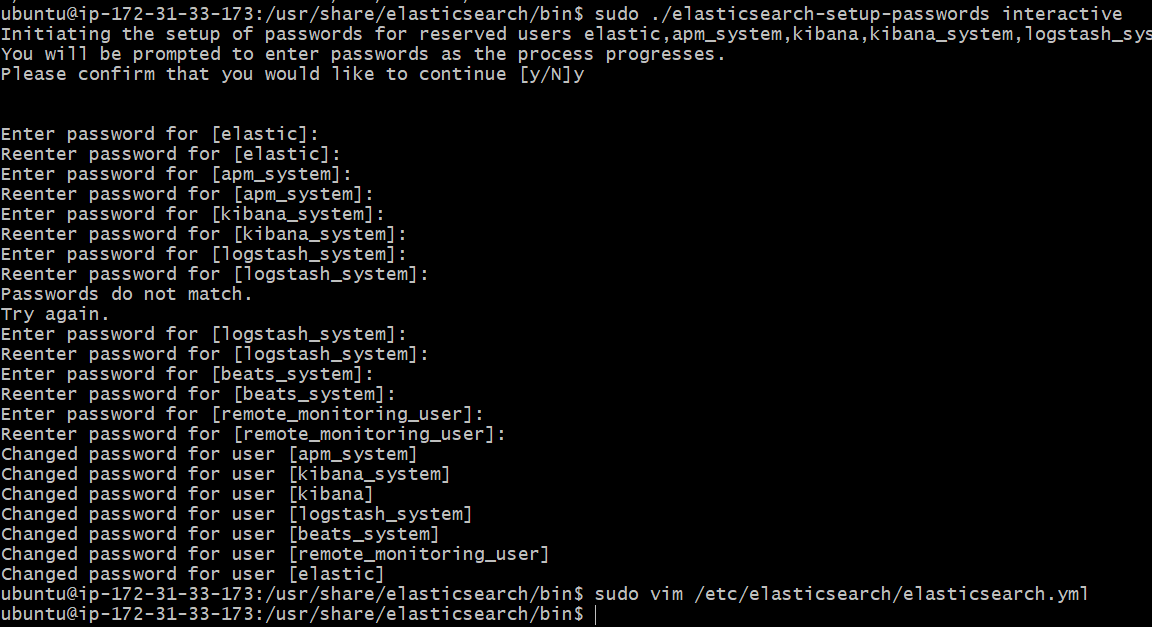
Step# 7: Set Up Elastic User Password
- Navigate to the Elasticsearch bin directory and set up a password for the Elastic user:
|
Shell |
|
$ sudo ./elasticsearch-setup-passwords interactive |
Sample screenshot
Step#8: Check Elasticsearch Web Response
- Check the web response of Elasticsearch:
|
Shell |
|
$ curl http://<IP>:9200 |
Sample screenshot
![]()
Step#9: Set Up JVM_HEAP
- Update JVM settings to restrict Elasticsearch memory usage. Copy the jvm.options file to the jvm.options.d folder and set values:
|
Shell |
|
$ cp /etc/elasticsearch/jvm.options /etc/elasticsearch/jvm.options.d/ $ sudo vim /etc/elasticsearch/jvm.options.d/jvm.options |
- Set the values:
|
Shell |
|
-Xms5g -Xmx5g |
Integrating Elasticsearch with OvalEdge
Step#10: Edit Oasis Properties
- Edit the Oasis properties file in the OE application running on the server:
|
Shell |
|
$ sudo vim /path/to/oasis/properties |
- Update Elasticsearch details:
|
yaml |
|
ES hostname: <domain> ES password: ******* |
Note: The password was set during the Elasticsearch installation.
Sample screenshot

Step#11: Restart Tomcat
- After editing the Elasticsearch details in the Oasis properties, restart Tomcat:
|
yaml |
|
$ sudo systemctl restart tomcat |
Copyright © 2024, OvalEdge LLC, Peachtree Corners, GA USA